

Skillet Protein Cinnamon Rolls: the step most people skip
This version of Skillet Protein Cinnamon Rolls: the step most people skip is written for a normal weeknight kitchen: everyday ingredients, one pan, no special equipment.
Use the visual cue, not only the clock: every oven and every pan runs a little differently. There’s a short troubleshooting list if something goes off.
-
Do Protein Bars Help Weight Loss? 3 Rules for Success
Protein bars often hide 300+ calories behind healthy marketing. If you replace a balanced … -
15 Best Low Sugar Protein Bars That Actually Taste Good
Finding a protein bar with less than 3g of sugar that doesn’t taste like cardboard i… -
Best Protein Bar Comparison: 3 Brands Tested for Low-Carb Success
Finding the best protein bar comparison helps you avoid blood sugar spikes while meeting y… -
Strawberry Cheesecake Yogurt Bowl: 3-Step Low-Carb Breakfast
Transform your morning with this strawberry cheesecake yogurt bowl. It packs 25g of protei…
Stop settling for dry, flavorless breakfast bars. These skillet protein cinnamon rolls pack 25g of protein per serving and take just 20 minutes from prep to plate. You get the gooey, spiced center you crave without the 40g of sugar found in bakery versions.
The 3-Heat Method: in practice
Choosing the Right Protein Powder
Not all protein powders work for baking. I have tested dozens and found that whey-casein blends provide the best structure for rolls.
Pure whey isolate often turns into a gummy mess when heated. Use a blend to keep the texture fluffy and bread-like.
- Avoid flavored powders with artificial aftertastes.
- Check that your powder has less than 2g of carbs.
- Sift your powder to prevent dense pockets in the dough.
Mastering the Cast Iron Skillet
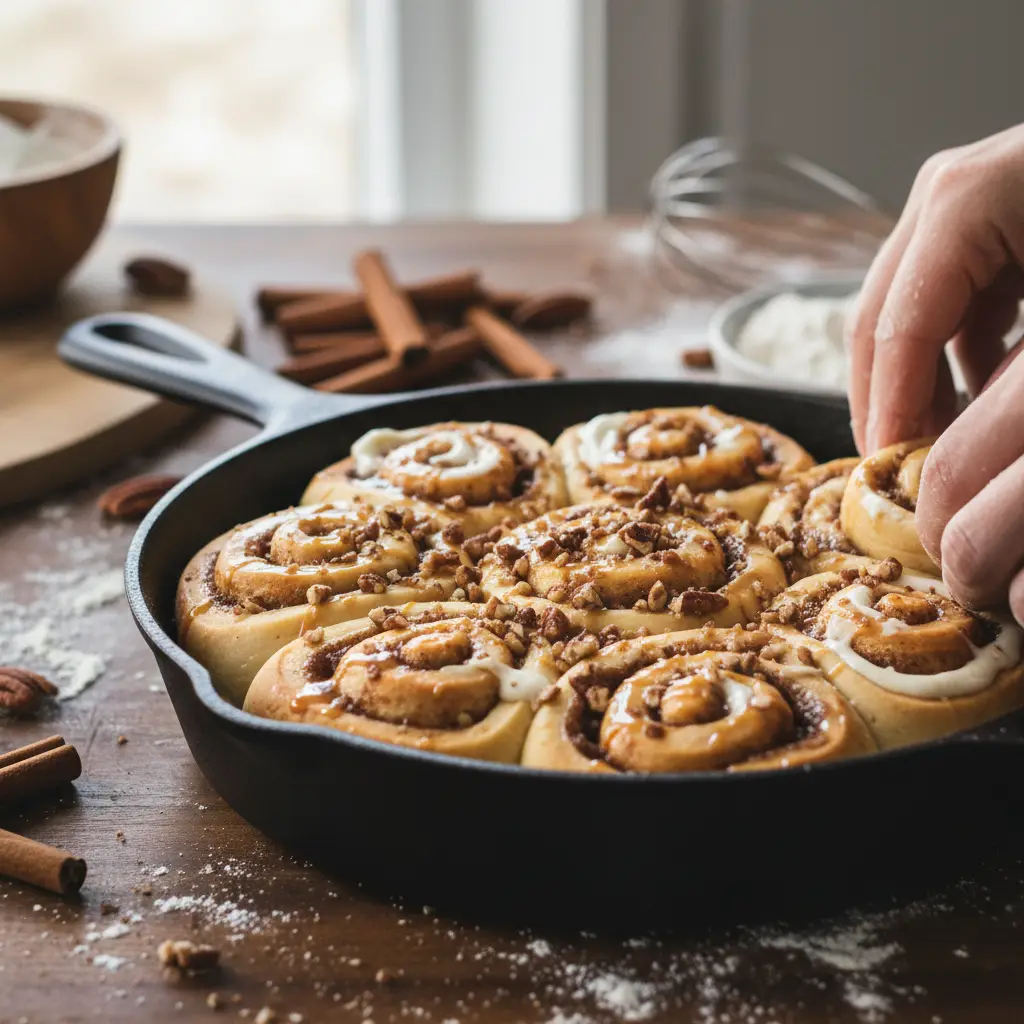
A cast iron skillet is essential for heat retention. It creates a crisp exterior while keeping the center soft and gooey.
Use a 6 or 8-inch skillet to keep the rolls snug. This forces them to rise upward rather than spreading out.
- Preheat the skillet for 3 minutes before adding dough.
- Grease the skillet with 1 tsp of avocado oil.
- Ensure the handle is shielded when moving to the air fryer.
Low-Carb Sweetener Science
Granulated erythritol is my go-to for the filling. It mimics the crunch of sugar without spiking your blood glucose levels.
If you prefer a softer glaze, blitz your sweetener in a coffee grinder for 30 seconds to create a powdered version.
- Mix 2 tbsp of sweetener with 1 tbsp of cinnamon.
- Add a pinch of salt to balance the sweetness.
- Use brown-sugar style erythritol for a deeper flavor.
Pros and honest limits
- High protein content
- Fast cooking time
- Single-skillet cleanup
- Requires specific protein powder
- Can burn if not monitored
- Portion sizes are small
Troubleshooting Your Bake
If your rolls are browning too fast, tent them with a piece of foil. This allows the center to cook through without burning the top.
Always let the rolls rest for 5 minutes after cooking. This allows the protein structure to set so they don't fall apart.
- Reduce heat to 325°F if they burn at 350°F.
- Use a toothpick to check for a clean center.
- Keep the dough cold before slicing to maintain shape.
Practical comparison
| Method | Texture | Prep Time |
|---|---|---|
| Oven Bake | Soft/Doughy | 45 min |
| Air Fryer | Crispy/Gooey | 20 min |
| Microwave | Rubber/Dry | 5 min |
| No-Bake | Dense/Cold | 10 min |
Frequently asked questions
Can I use coconut flour instead?
Yes, but use 1/3 the amount of almond flour. Coconut flour is highly absorbent and will dry out the rolls quickly.
How long do these last?
Store them in an airtight container for up to 3 days. Reheat in the air fryer for 2 minutes to regain the crisp edge.
Why did my rolls spread?
Your skillet might be too large. Use a smaller diameter pan to keep the rolls touching during the bake.
Can I freeze these?
Yes, freeze raw slices for up to 30 days. Air fry directly from frozen by adding 4 minutes to the cook time.
Conclusion
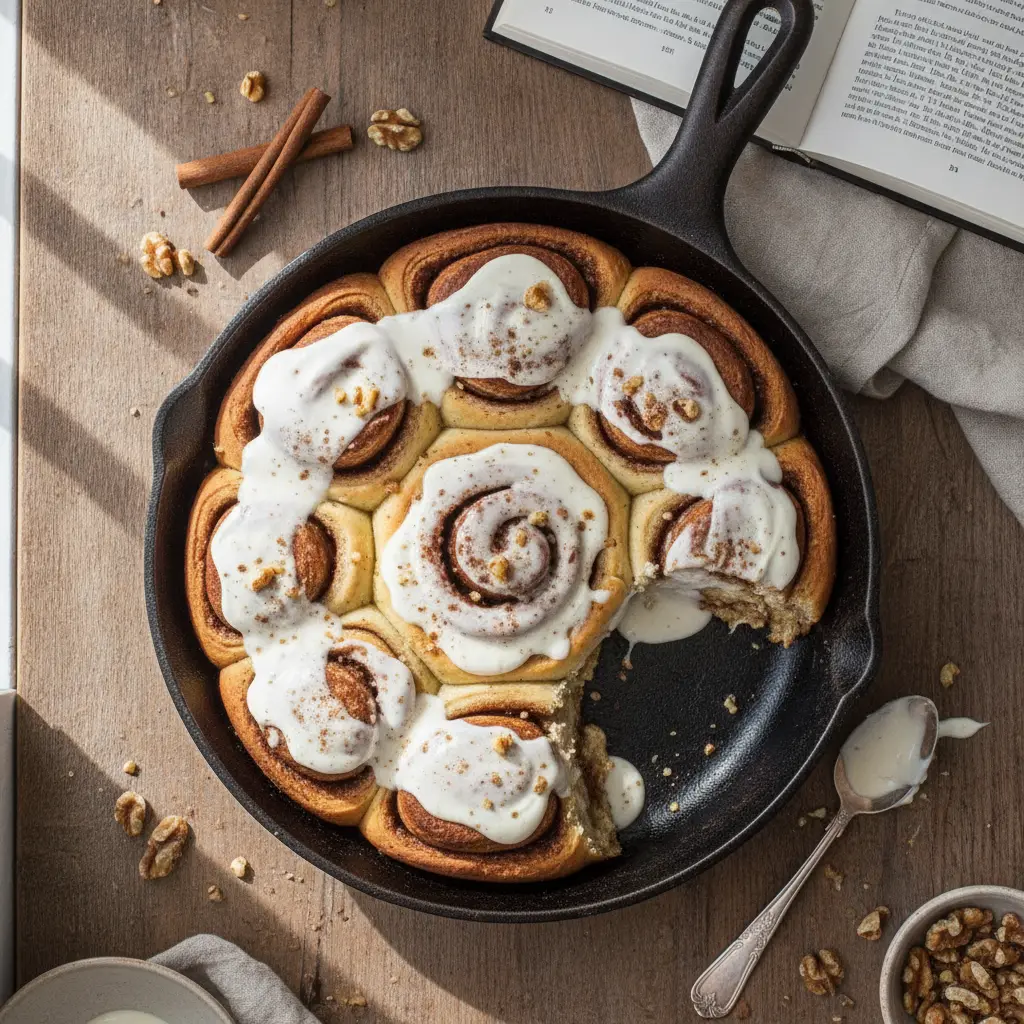
These skillet protein cinnamon rolls are the ultimate hack for a healthy morning. They satisfy that sweet tooth while keeping your macros in check. Grab your skillet and try this batch tomorrow morning—your breakfast routine will thank you.
📡 RSS
Related reading
Leia também: pumpkin protein waffles
Leia também: sheet pan cottage cheese pancakes
Leia também: freezer protein waffles
Leia também: apple pie yogurt bowl
Leia também: berry french toast casserole
How to tell it is done (without opening and poking every minute)
- Hot pan before the fat, hot fat before the food: that is what stops sticking.
- A quiet sizzle means a cold pan — pull the food, reheat, and go back in, or it steams instead of searing.
- A finished sauce coats the back of a spoon and holds a clean line when you swipe a finger through it.
- Long high heat toughens protein; after the sear, almost everything finishes on medium-low.
- Salt reducing sauces at the end — water evaporates, salt does not.
The 5 mistakes that ruin this recipe — and the fix for each
- Cold pan. Food sticks and weeps water. Wait for the fat to shimmer and ripple.
- Stirring too much. No still contact, no crust. Flip once.
- Pan too small. Crowding drops the temperature and steams the food. Two batches, always.
- High heat all the way. It browns outside and toughens inside. Turn it down after the sear.
- Salting too early. Salt pulls water at the wrong moment. On thin cuts, season as it hits the pan.
Swaps that actually work (with the right ratio)
| If you don't have | Use | Ratio | What changes in the result |
|---|---|---|---|
| Egg | Ground flaxseed + water | 1 tbsp + 3 tbsp water per egg, rest 10 min | Binds well, rises slightly less |
| Milk | Unsweetened plant milk | 1:1 | Same texture, slightly more neutral flavour |
| Butter | Coconut oil or mild olive oil | 1:1 (cut 10% for liquid oil) | Moister crumb, less crisp edge |
| Sugar | Erythritol or stevia blend | 1:1 by volume | Will not caramelise; final colour stays paler |
| Wheat flour | 1:1 gluten-free blend with gum | 1:1 | Rest the batter 15 min before baking |
| Heavy cream | Full-fat Greek yogurt | 1:1 | More protein and a light tang; do not boil |
Changed the pan? Adjust the time like this
| Original pan | Equivalent | Time adjustment | Watch out for |
|---|---|---|---|
| 8" round | 8×8" square | Same time | Square corners bake faster |
| 9" round | 9×13" pan | −5 to −8 min | Thinner batter, check early |
| Loaf pan | 6 jumbo muffin cups | −15 to −20 min | Cupcakes bake far faster |
| Deep casserole | Two shallow dishes | −10 min | Spreads the heat and prevents a raw centre |
Store, freeze and reheat without wrecking the texture
| Where | How long | How to store | How to bring it back |
|---|---|---|---|
| Fridge | 3 days | Cool 20 min before sealing | Hot pan, 2 min per side |
| Freezer | 2 months | Single portions, air pressed out | Thaw in the fridge, never warm |
| Meal prep | 3 days | Sauce underneath, protein on top | Microwave 90 s, covered |
Frequently asked questions
Can I make Skillet Protein Cinnamon Rolls: the step most people skip ahead?
Yes. Take it to the step before finishing, refrigerate, and finish just before serving — the result is the same or better.
Can I double the recipe?
Yes. Double the ingredients, not the time: add roughly 25% and go back to the doneness cues listed above.
What is the real yield per serving?
Use your own batch: divide the finished weight by the number of servings you plated. Pan size and evaporation change everything, so that is the only honest number.
Does it work on any oven or stove?
Yes, but equipment varies by up to 35 °F. Judge by the doneness cues, not the clock, and note your own timing.
How well do leftovers keep?
Very well, following the storage table above. Freeze in flat portions: they thaw evenly and hold their texture.


