
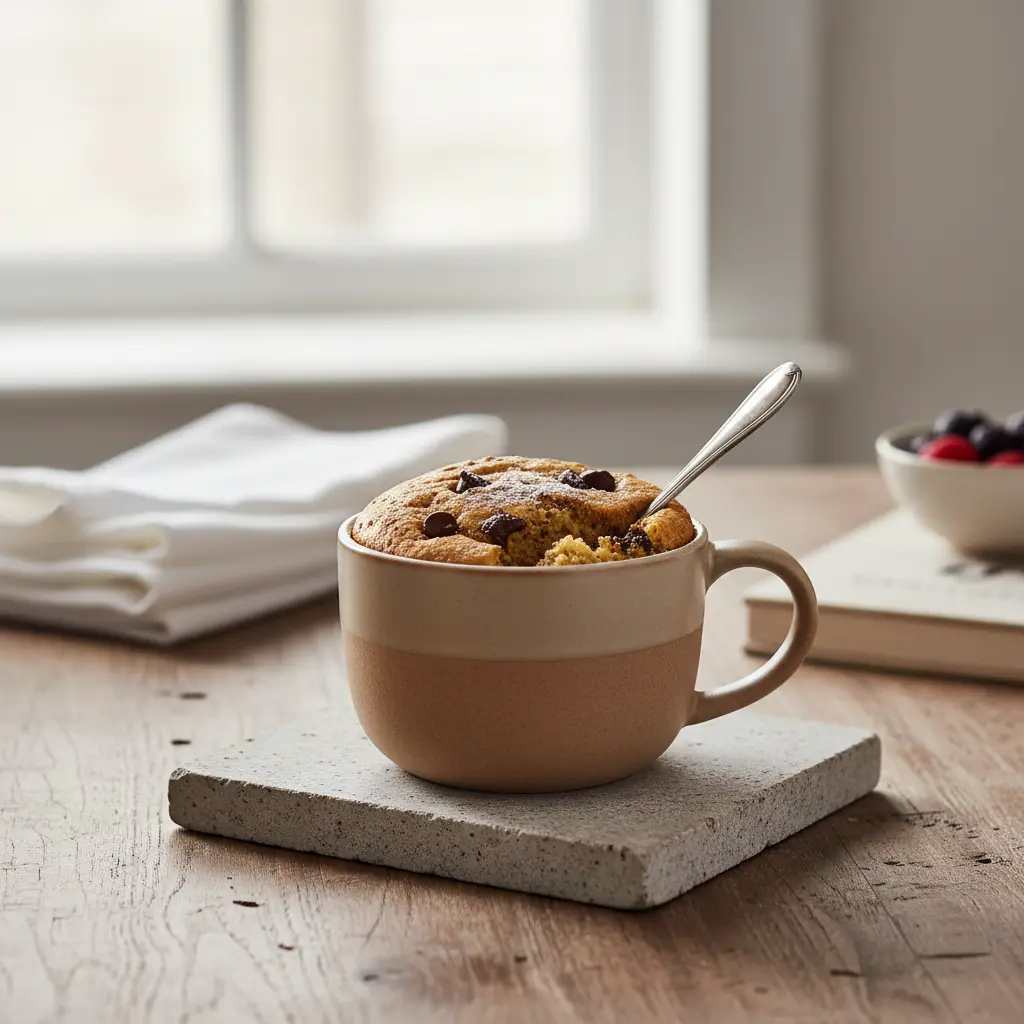
Microwave Protein Mug Cake: 3-Minute Low-Carb Recipe
Short answer for Microwave Protein Mug Cake: 3-Minute Low-Carb Recipe: how long it takes, what it should look like when it’s done, and what to do with the leftovers.
Season in two stages — a little at the start, the rest at the end — instead of all at once. Substitutions for the two trickiest ingredients are listed below.
-
Chocolate Protein Brownies: The 12-Minute Air Fryer Method
These fudgy chocolate protein brownies deliver 15 grams of protein per serving with only 4… -
Air Fryer vs Oven Protein Cookies: 3 Tips for Perfect Texture
Choosing between an air fryer vs oven protein cookies changes everything. I have tested bo… -
Sheet Pan Cottage Cheese Pancakes: 12-Minute Low-Carb Hack
Stop flipping individual pancakes on the stove. This sheet pan cottage cheese pancakes met… -
Air Fryer Cottage Cheese Pancakes: 12-Minute High-Protein Bites
These air fryer cottage cheese pancakes deliver 20g of protein in a portable, grab-and-go …
Ditch the expensive store-bought protein bars. This microwave protein mug cake delivers 25 grams of protein in under 3 minutes. It is the perfect low-carb solution for late-night cravings or a quick post-workout snack.
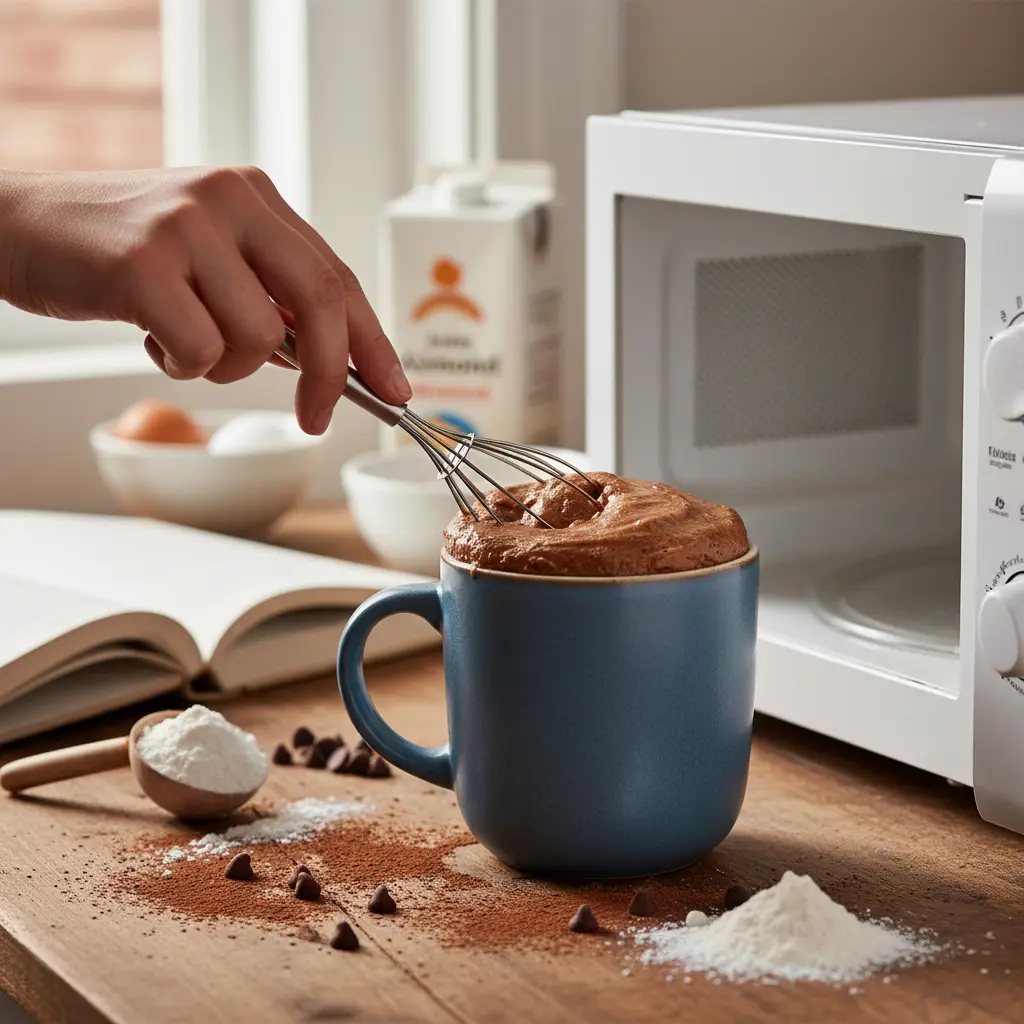
The Rapid Mug Method: in practice
Why Mug Cakes Win
Most low-carb desserts require an hour of prep. This microwave protein mug cake saves you time and keeps your kitchen cool during summer months.
You control the ingredients exactly. No hidden fillers or sweeteners that spike your blood sugar levels.
- Saves 45 minutes of oven time compared to traditional baking.
- Cost per serving is under $1.50.
- Uses simple pantry staples you likely already own.
Mastering the Texture
The biggest challenge with protein powder is the dry, chalky result. The trick is adding enough healthy fat to keep it moist.
Always include 1 tsp of nut butter or coconut oil. This prevents the cake from turning into a rubbery puck after the heat cycle.
- Always use a 12 oz microwave-safe mug for better air circulation.
- Add a dash of cinnamon to mask the taste of whey protein.
- Do not over-mix the batter; stir just until combined.
Low-Carb Flavor Variations
You don't have to stick to chocolate every time. Swap out the cocoa powder for 1/2 tsp of vanilla extract or lemon zest.
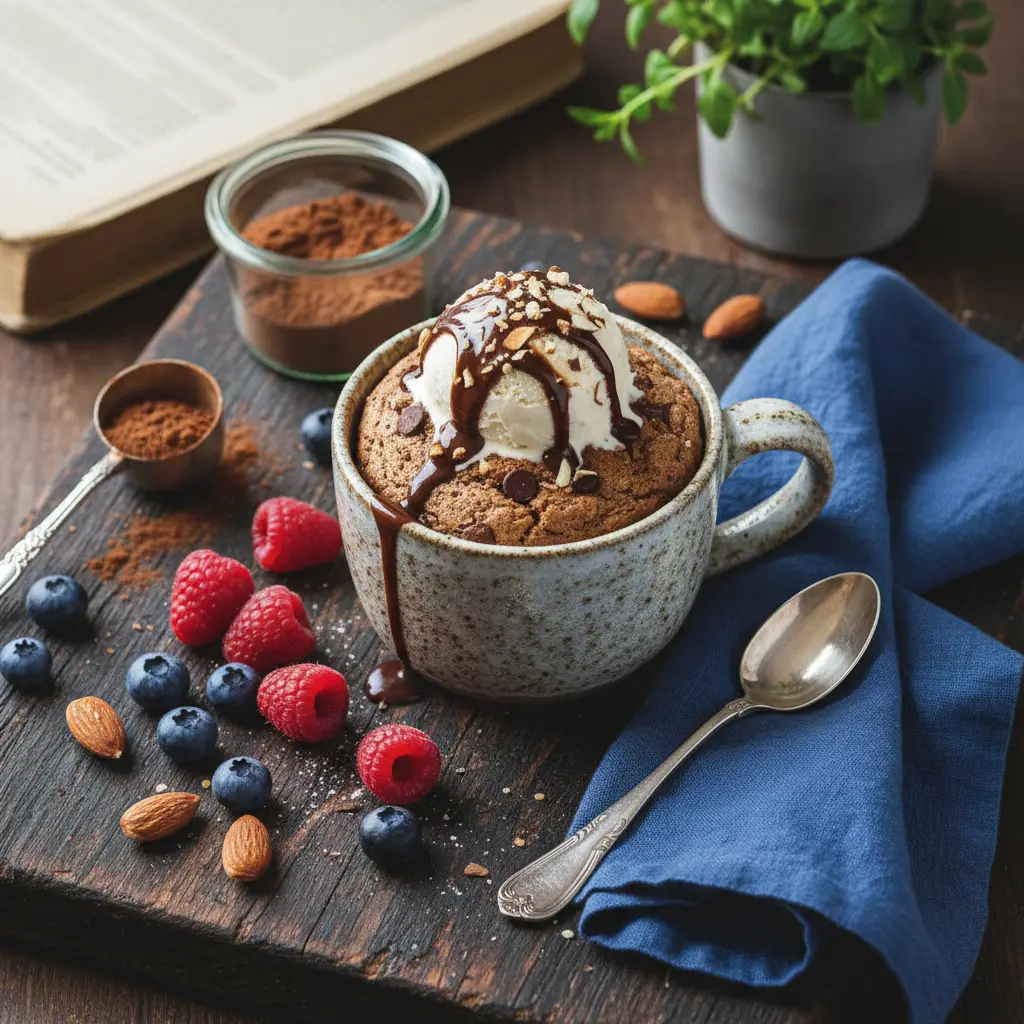
Try adding 1 tbsp of sugar-free chocolate chips to the center. This creates a molten lava effect that feels like a cheat day meal.
- Use peanut butter powder for a lighter peanut flavor.
- Add 1/2 tsp of chia seeds for extra fiber and texture.
- Top with 1 tbsp of heavy whipped cream for extra richness.
Pros and honest limits
- Ready in under 3 minutes
- High protein content
- Easy portion control
- Texture can be rubbery if overcooked
- Limited to single servings
- Requires specific protein powder type
When to Use the Air Fryer
If you prefer a crispy edge, skip the microwave entirely. Transfer the batter to a small ramekin and air fry at 350°F for 8 minutes.
The air fryer creates a cake-like crust that the microwave cannot replicate. It is worth the extra 5 minutes if you have a craving for a real baked dessert.
- Set air fryer to 350°F for perfect heat distribution.
- Use silicone ramekins to avoid sticking issues.
- Check doneness with a toothpick at the 7-minute mark.
Cooking Method Comparison
| Method | Texture | Time (min) |
|---|---|---|
| Microwave | Soft/Moist | 2 |
| Air Fryer | Crispy/Firm | 10 |
| Oven | Classic/Dense | 35 |
| No-Bake | Cold/Chewy | 5 |
Frequently asked questions
Can I use plant-based protein?
Yes, but you may need an extra tablespoon of almond milk. Plant protein absorbs more liquid than whey or casein.
Is this keto-friendly?
Yes, provided you use an unsweetened protein powder and a stevia-based sweetener. It typically stays under 5 grams of net carbs.
Why is my cake rubbery?
You likely over-microwaved it or used too much protein powder. Start with 60 seconds and check the center before adding more time.
Conclusion
This microwave protein mug cake is the ultimate hack for low-carb living. It is fast, cheap, and keeps your macros in check. Try making your first batch tonight and keep some pre-mixed dry ingredients in your pantry for those late-night sweet tooth emergencies.
📡 RSS
Related reading
How to tell it is done (without opening and poking every minute)
- Edges brown before the middle: start checking 3 minutes early, always at the centre of the piece.
- Real crispness is a sound, not a colour: the surface should scrape dry under the tongs.
- 3.2–5.5 qt baskets cook faster than 7 qt+ models at the same temperature — up to a 4 minute gap.
- Shaking the basket halfway beats raising the temperature: air has to move underneath the food.
- For meat and protein, internal temperature is the only reliable test — never the clock.
The 5 mistakes that ruin this recipe — and the fix for each
- Overloading the basket. Air stops circulating and everything steams. Cook in two batches: double the time, but you get crunch.
- Skipping the preheat. Three minutes of preheat changes crust formation. Without it the surface dries before it browns.
- Wet food. Pat dry with paper towel. Surface water turns to steam, and steam blocks crust.
- Too much oil. In an air fryer, more oil means more smoke, not more crunch. A light spray is enough.
- Never cleaning the element. Baked-on grease burns and pushes a bitter taste into the next recipe.
Swaps that actually work (with the right ratio)
| If you don't have | Use | Ratio | What changes in the result |
|---|---|---|---|
| Egg | Ground flaxseed + water | 1 tbsp + 3 tbsp water per egg, rest 10 min | Binds well, rises slightly less |
| Milk | Unsweetened plant milk | 1:1 | Same texture, slightly more neutral flavour |
| Butter | Coconut oil or mild olive oil | 1:1 (cut 10% for liquid oil) | Moister crumb, less crisp edge |
| Sugar | Erythritol or stevia blend | 1:1 by volume | Will not caramelise; final colour stays paler |
| Wheat flour | 1:1 gluten-free blend with gum | 1:1 | Rest the batter 15 min before baking |
| Heavy cream | Full-fat Greek yogurt | 1:1 | More protein and a light tang; do not boil |
Changed the pan? Adjust the time like this
| Original pan | Equivalent | Time adjustment | Watch out for |
|---|---|---|---|
| 8" round | 8×8" square | Same time | Square corners bake faster |
| 9" round | 9×13" pan | −5 to −8 min | Thinner batter, check early |
| Loaf pan | 6 jumbo muffin cups | −15 to −20 min | Cupcakes bake far faster |
| Deep casserole | Two shallow dishes | −10 min | Spreads the heat and prevents a raw centre |
Store, freeze and reheat without wrecking the texture
| Where | How long | How to store | How to bring it back |
|---|---|---|---|
| Fridge | 3–4 days | Leave uncovered 10 min before sealing | Air fryer at 350 °F for 3–4 min, no oil |
| Freezer | Up to 2 months | Freeze spread out, then bag | Straight from frozen, 350 °F for 6–8 min |
| Counter | Up to 4 hours | On a rack, never in a sealed box | Trapped steam kills the crunch |
Frequently asked questions
Can I make Microwave Protein Mug Cake: 3-Minute Low-Carb Recipe ahead?
Yes. Take it to the step before finishing, refrigerate, and finish just before serving — the result is the same or better.
Can I double the recipe?
Yes. Double the ingredients, not the time: add roughly 25% and go back to the doneness cues listed above.
What is the real yield per serving?
Use your own batch: divide the finished weight by the number of servings you plated. Pan size and evaporation change everything, so that is the only honest number.
Does it work in any air fryer?
Yes, but smaller baskets cook faster. Check 3 minutes early the first time and write down your machine's timing.
How well do leftovers keep?
Very well, following the storage table above. Freeze in flat portions: they thaw evenly and hold their texture.


