Cottage Cheese Frozen Yogurt: 3 Steps to Creamy Low-Carb Bliss
You came for Cottage Cheese Frozen Yogurt: 3 Steps to Creamy Low-Carb Bliss, so the recipe is right below — the notes after it are what keep it from going wrong the first time.
Use the visual cue, not only the clock: every oven and every pan runs a little differently. Freezer instructions included, with the thawing time.
-
Cottage Cheese Ice Cream Coffee: 3 Steps to Low-Carb Bliss
Stop spending $7 on keto pints. This cottage cheese ice cream coffee recipe delivers 15g o… -
Cottage Cheese Ice Cream Recipe: 4-Step High Protein Dessert
This cottage cheese ice cream recipe delivers a creamy, high-protein treat in under 15 min… -
Protein Pudding No Protein Powder: 3-Ingredient Low-Carb Hack
Stop overpaying for processed powders. You can make a thick, creamy protein pudding no pro… -
8 Best Cottage Cheese Brand Picks for High-Protein Low-Carb Diets
Finding the best cottage cheese brand can boost your daily protein intake by 15-20g per se…
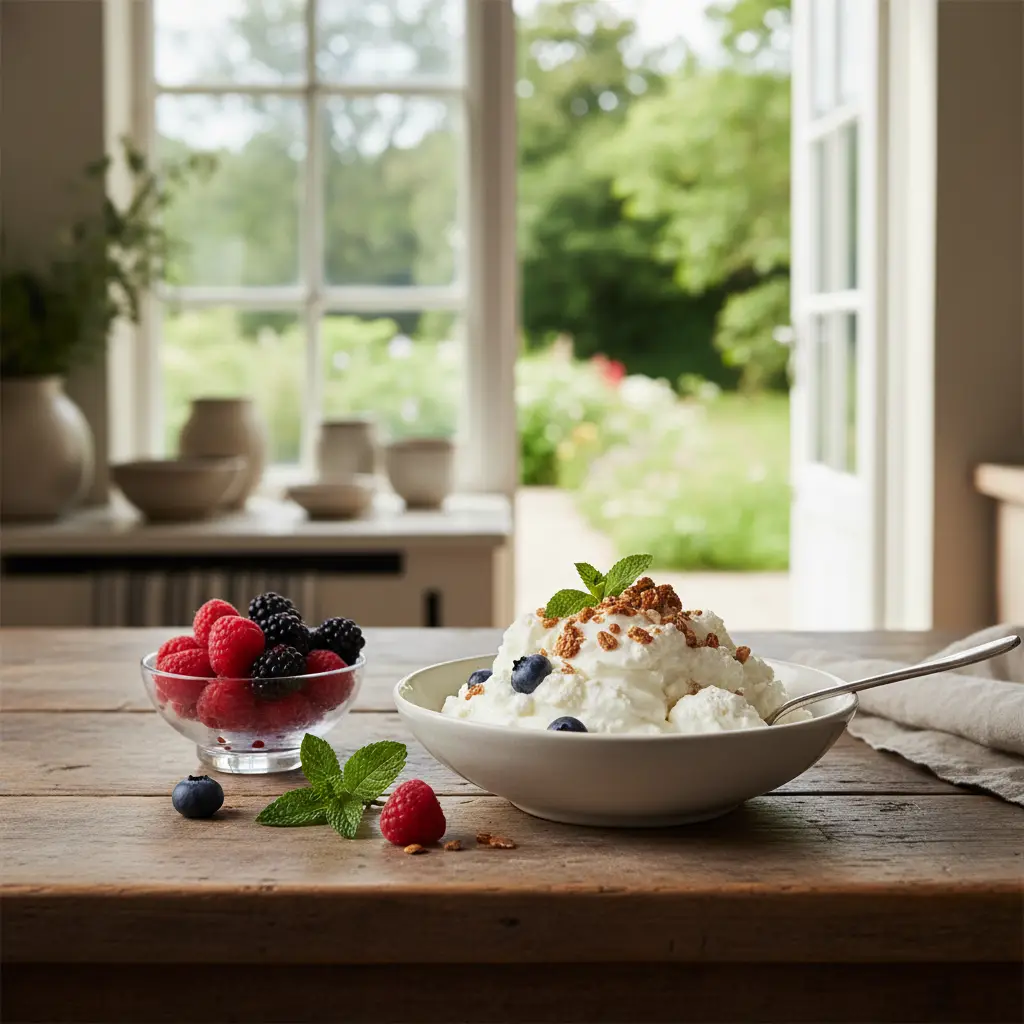
Ditch the expensive store-bought pints. This cottage cheese frozen yogurt hack delivers 15g of protein per serving with zero refined sugar. You can whip up this high-protein treat in under 10 minutes using just a blender and your freezer.
The Blend-Chill-Whirl Method: in practice
Why Cottage Cheese Wins
Most low-carb desserts fail because they turn into icy blocks. Cottage cheese has a unique fat-to-protein ratio that keeps the texture smooth even after freezing.
It costs about $3 per quart, making it significantly cheaper than almond flour or specialized keto sweeteners. You get a creamy result without the gritty texture of protein powders.
- Contains 3x more protein than standard yogurt bases.
- Requires only 3 basic pantry staples to start.
- Maintains a stable texture for up to 30 days in the freezer.
Mastering the Flavor Profile
The base is neutral, which is your greatest asset. You can mimic high-end flavors like salted caramel or dark chocolate by adjusting your mix-ins before the final blend.
Avoid adding water or ice, as these will ruin the creaminess. If you need more liquid, use 1 tbsp of heavy cream or unsweetened almond milk.
- Add 1 tsp of vanilla extract for a classic base.
- Fold in 2 tbsp of sugar-free dark chocolate chips before the final freeze.
- Use 1/4 cup of fresh berries for a natural fruit swirl.
Equipment and Storage Tips
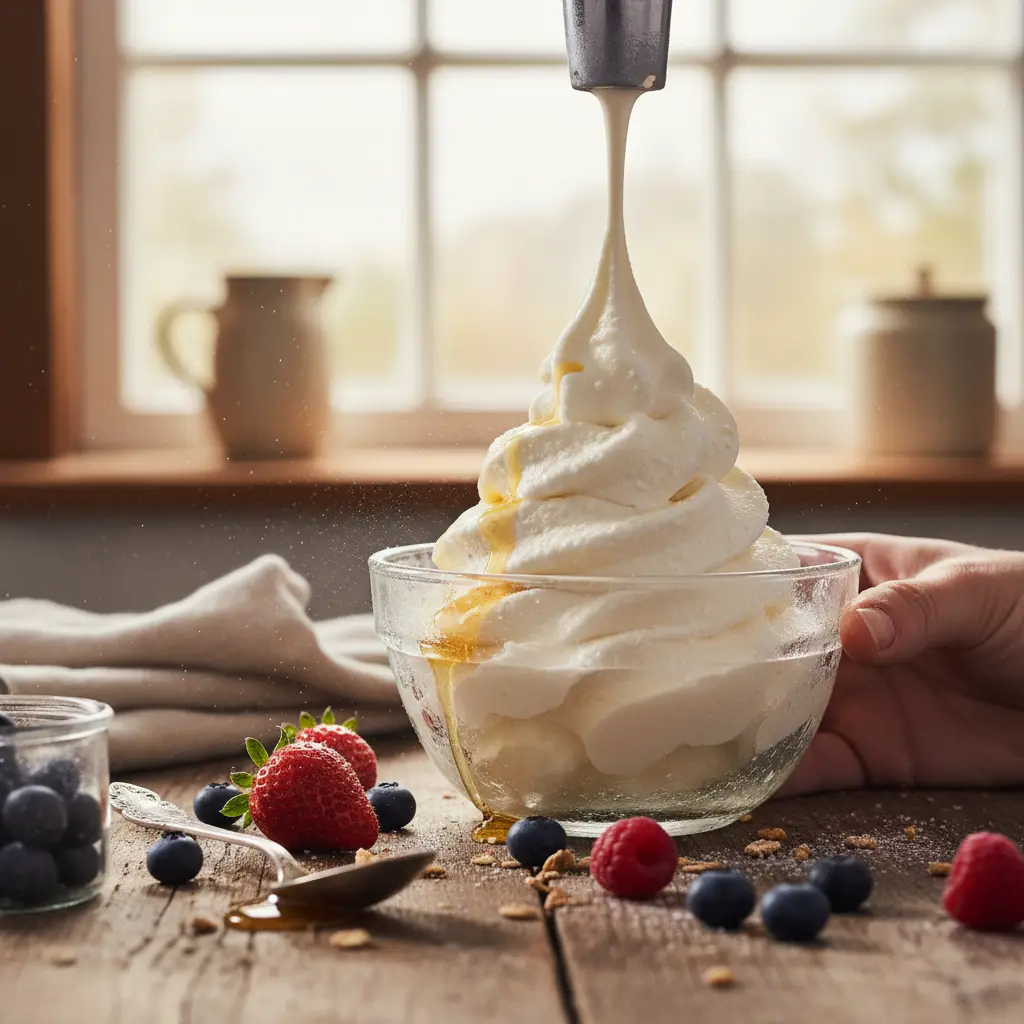
You do not need a fancy ice cream maker for this. A standard high-speed blender or a food processor is all that is required to break down the curds.
If you have leftovers, store them in an airtight glass container. It stays scoopable for about 7 days before it starts to develop ice crystals.
- Use a glass loaf pan for faster freezing times.
- Label your containers with the date to track freshness.
- Keep the container in the back of the freezer to avoid temperature swings.
Pros and honest limits
- Extremely high protein content
- Zero cooking required
- Cheap ingredient list
- Requires a high-speed blender
- Can get icy if not blended well
- Texture differs from real gelato
Troubleshooting Common Issues
If your batch turns out too hard, you likely didn't blend the curd enough. The initial 60-second blend is non-negotiable for a professional mouthfeel.
Avoid using low-fat cottage cheese. The 4% milkfat is essential for preventing that 'ice-cube' effect in your finished dessert.
- Blend longer if you still see small white specks.
- Let the container sit at room temperature for 5 minutes before scooping.
- Add a pinch of sea salt to enhance the underlying sweetness.
Practical comparison
| Type | Prep Time | Protein Rating |
|---|---|---|
| Standard Gelato | 4 hours | Low |
| Greek Yogurt | 2 hours | Medium |
| Cottage Cheese | 10 min | High |
| Store-bought Keto | 0 min | Medium |
Frequently asked questions
Can I use low-fat cottage cheese?
You can, but it will be much icier. Always stick to 4% milkfat for the best texture.
How long does it last?
It is best consumed within 7 days. After that, the texture begins to degrade.
Does it taste like cheese?
Not at all. Once blended with vanilla and sweetener, the tangy flavor mimics Greek yogurt perfectly.
Conclusion
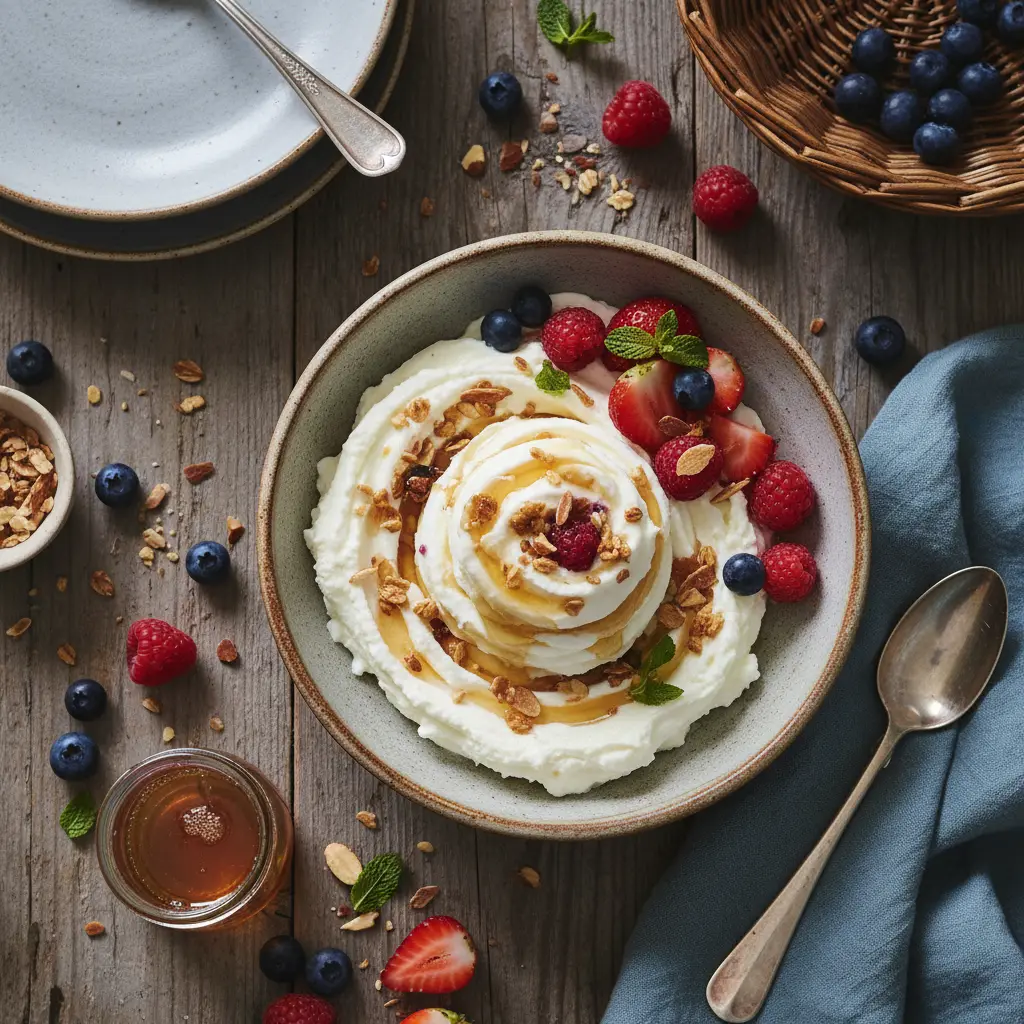
Cottage cheese frozen yogurt is the ultimate low-carb cheat code for satisfying your sweet tooth without the sugar crash. With just 10 minutes of prep, you can keep your freezer stocked for the whole week. Give this method a try tonight and let me know your favorite flavor combination in the comments below!
📡 RSS
Related reading
How to tell it is done (without opening and poking every minute)
- Hot pan before the fat, hot fat before the food: that is what stops sticking.
- A quiet sizzle means a cold pan — pull the food, reheat, and go back in, or it steams instead of searing.
- A finished sauce coats the back of a spoon and holds a clean line when you swipe a finger through it.
- Long high heat toughens protein; after the sear, almost everything finishes on medium-low.
- Salt reducing sauces at the end — water evaporates, salt does not.
The 5 mistakes that ruin this recipe — and the fix for each
- Cold pan. Food sticks and weeps water. Wait for the fat to shimmer and ripple.
- Stirring too much. No still contact, no crust. Flip once.
- Pan too small. Crowding drops the temperature and steams the food. Two batches, always.
- High heat all the way. It browns outside and toughens inside. Turn it down after the sear.
- Salting too early. Salt pulls water at the wrong moment. On thin cuts, season as it hits the pan.
Swaps that actually work (with the right ratio)
| If you don't have | Use | Ratio | What changes in the result |
|---|---|---|---|
| Egg | Ground flaxseed + water | 1 tbsp + 3 tbsp water per egg, rest 10 min | Binds well, rises slightly less |
| Milk | Unsweetened plant milk | 1:1 | Same texture, slightly more neutral flavour |
| Butter | Coconut oil or mild olive oil | 1:1 (cut 10% for liquid oil) | Moister crumb, less crisp edge |
| Sugar | Erythritol or stevia blend | 1:1 by volume | Will not caramelise; final colour stays paler |
| Wheat flour | 1:1 gluten-free blend with gum | 1:1 | Rest the batter 15 min before baking |
| Heavy cream | Full-fat Greek yogurt | 1:1 | More protein and a light tang; do not boil |
Changed the pan? Adjust the time like this
| Original pan | Equivalent | Time adjustment | Watch out for |
|---|---|---|---|
| 8" round | 8×8" square | Same time | Square corners bake faster |
| 9" round | 9×13" pan | −5 to −8 min | Thinner batter, check early |
| Loaf pan | 6 jumbo muffin cups | −15 to −20 min | Cupcakes bake far faster |
| Deep casserole | Two shallow dishes | −10 min | Spreads the heat and prevents a raw centre |
Store, freeze and reheat without wrecking the texture
| Where | How long | How to store | How to bring it back |
|---|---|---|---|
| Fridge | 3 days | Cool 20 min before sealing | Hot pan, 2 min per side |
| Freezer | 2 months | Single portions, air pressed out | Thaw in the fridge, never warm |
| Meal prep | 3 days | Sauce underneath, protein on top | Microwave 90 s, covered |
Frequently asked questions
Can I make Cottage Cheese Frozen Yogurt: 3 Steps to Creamy Low-Carb Bliss ahead?
Yes. Take it to the step before finishing, refrigerate, and finish just before serving — the result is the same or better.
Can I double the recipe?
Yes. Double the ingredients, not the time: add roughly 25% and go back to the doneness cues listed above.
What is the real yield per serving?
Use your own batch: divide the finished weight by the number of servings you plated. Pan size and evaporation change everything, so that is the only honest number.
Does it work on any oven or stove?
Yes, but equipment varies by up to 35 °F. Judge by the doneness cues, not the clock, and note your own timing.
How well do leftovers keep?
Very well, following the storage table above. Freeze in flat portions: they thaw evenly and hold their texture.