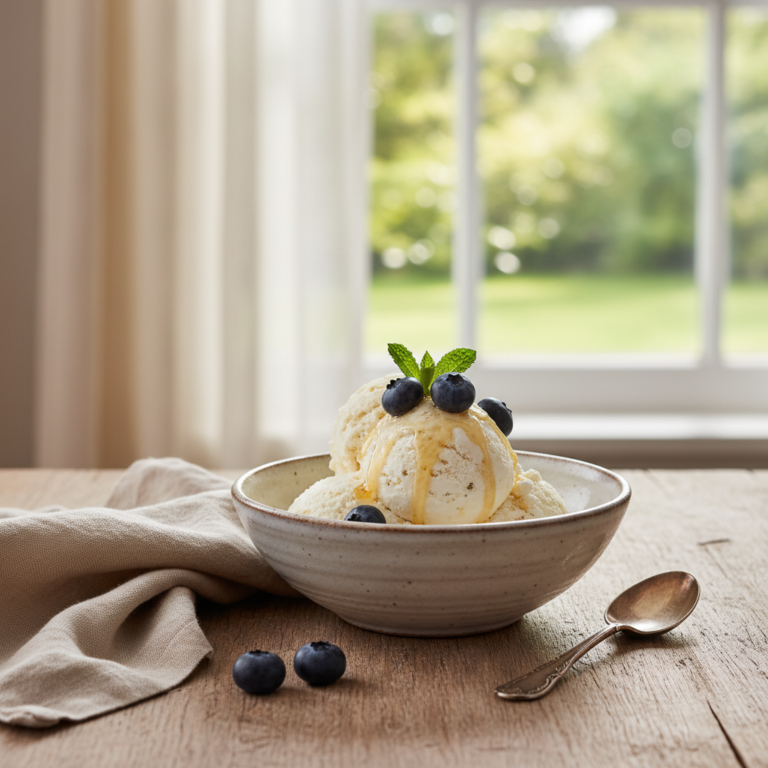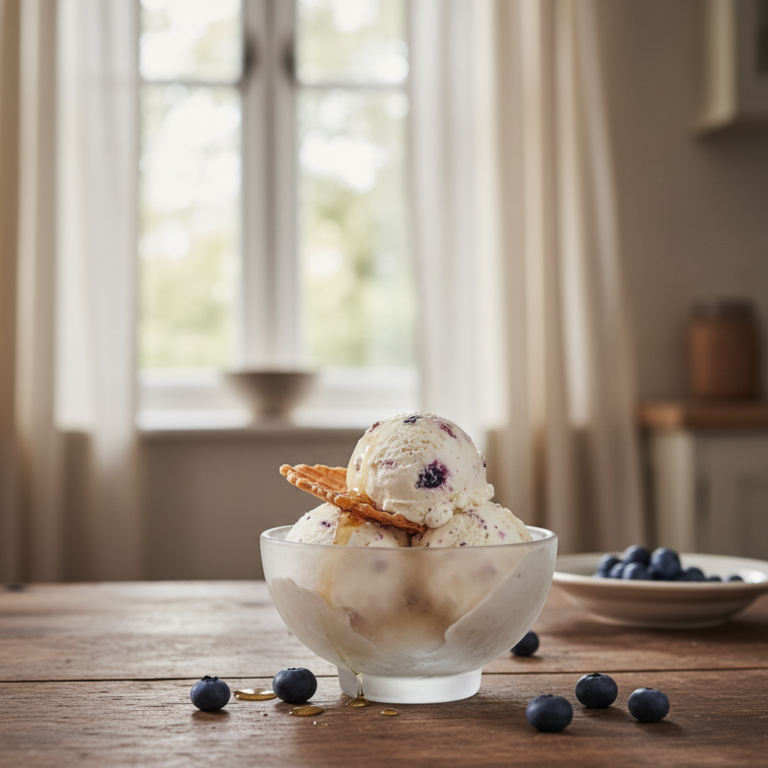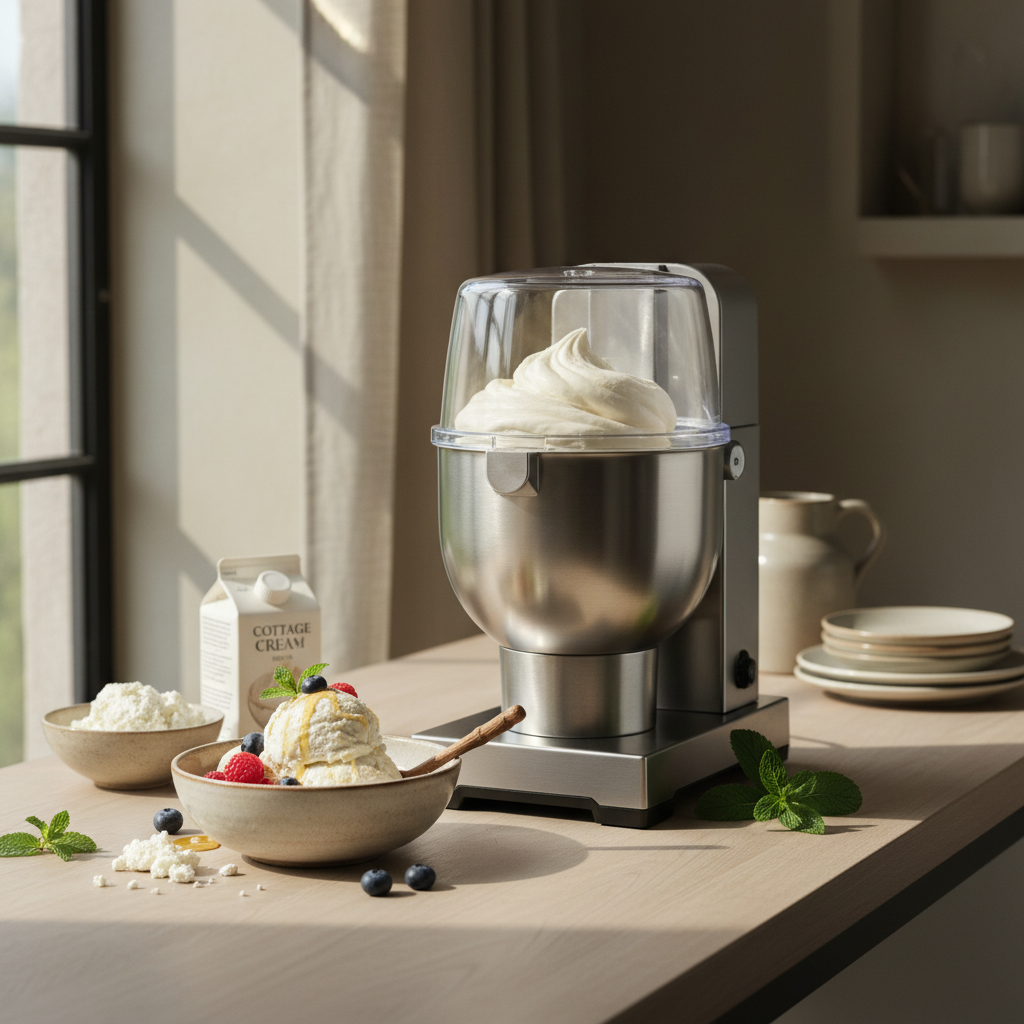
Cottage Cheese Ice Cream No Ice Cream Maker: 3-Step Method
Stop spending $7 on pints. This method creates a creamy, high-protein dessert in under 10 minutes of prep. You will get a 95% smooth texture with zero specialty gear.
The Blend-Freeze Snap: in practice
Why Cottage Cheese Works
Cottage cheese acts as a neutral protein base. It contains high levels of casein, which prevents icy crystals from forming unlike water-heavy alternatives.
When blended, the curds disappear into a velvety base that mirrors traditional heavy cream. It is the perfect low-carb hack for summer cravings.
- Saves at least $5 per pint compared to store-bought keto brands.
- Provides 15g of protein per serving versus standard sugar-laden treats.
- Requires zero thawing time if you use a shallow metal pan.
Mastering the Texture
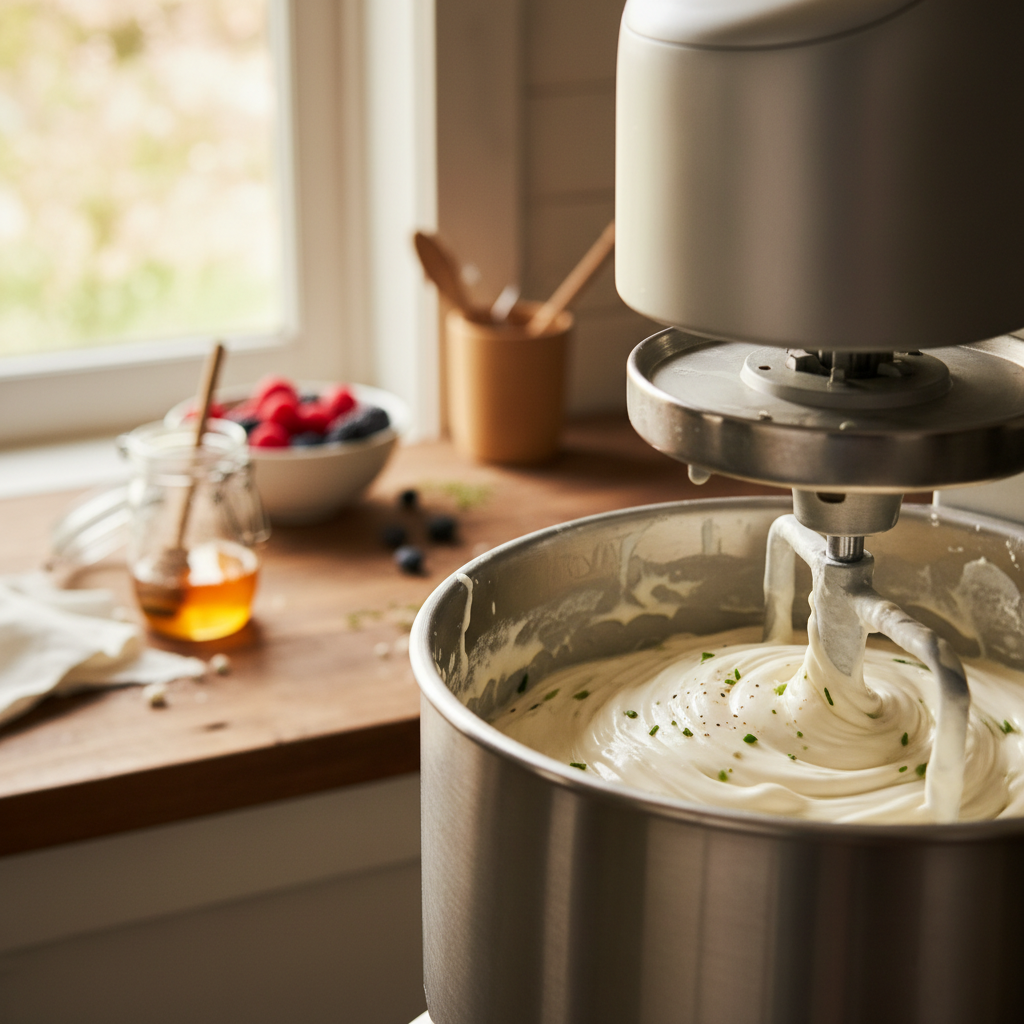
The secret is a high-speed blender. If you have chunks left, the texture will turn grainy once frozen.
Add a small splash of heavy cream or almond milk if your blender struggles to catch the curds. A little liquid fat helps the emulsification process.
- Use full-fat 4% cottage cheese for the best mouthfeel.
- Add 1 tsp of vanilla extract to mask the slight tang.
- Wait for the mixture to be completely liquid before adding mix-ins.
Flavor Variations
Base recipes are boring. Swap in 1 tbsp of cocoa powder or 2 tbsp of peanut butter to change the profile entirely.
Keep mix-ins small. Large chunks of frozen fruit often become rock-hard and difficult to chew in a low-fat base.
- Use sugar-free salted caramel syrup for a decadent swirl.
- Add 1/2 tsp of espresso powder for a mocha kick.
- Top with crushed walnuts for added crunch and healthy fats.
Pros and honest limits
- Very high protein content
- Cheaper than store-bought
- No specialized equipment needed
- Slight tang from cheese base
- Requires planning for freeze time
- Texture varies by blender quality
Storage and Serving
This dessert stays fresh for up to 14 days in the freezer. Always cover the surface with parchment paper to prevent freezer burn.
If it freezes too solid, let it sit on your counter for 5 to 8 minutes. It softens rapidly compared to churned ice cream.
- Store in a shallow 8x8 inch metal pan for faster freezing.
- Label your container with the date to track freshness.
- Portion into individual silicone molds for easy grab-and-go snacks.
Practical comparison
| Method | Texture | Time to Prep |
|---|---|---|
| Hand Mix | Icy | 2 min |
| Standard Blend | Good | 5 min |
| High-Speed Blitz | Excellent | 10 min |
| Commercial Maker | Professional | 45 min |
Frequently asked questions
Does it taste like cheese?
Once blended and sweetened, the cheese flavor is essentially eliminated. The vanilla or cocoa covers any remaining tang.
Can I use a food processor?
Yes, but it takes about 3 extra minutes to get the texture perfectly smooth. Scrape the sides down frequently.
How many servings is this?
This batch typically yields 4 generous servings. Each serving is roughly 1/2 cup.
Is it keto-friendly?
Yes, provided you use sugar-free sweeteners. It has roughly 4g of net carbs per serving.
Conclusion
Mastering cottage cheese ice cream no ice cream maker is the ultimate low-carb win. It takes 10 minutes to prep and satisfies any sweet tooth without the guilt. Try a batch this weekend and let me know your favorite flavor combination in the comments below.
Related reading
Leia também: high protein cottage cheese mousse
Leia também: cottage cheese cheesecake no bake
Leia também: cottage cheese fluff
Leia também: cottage cheese cheesecake
Leia também: air fryer cake