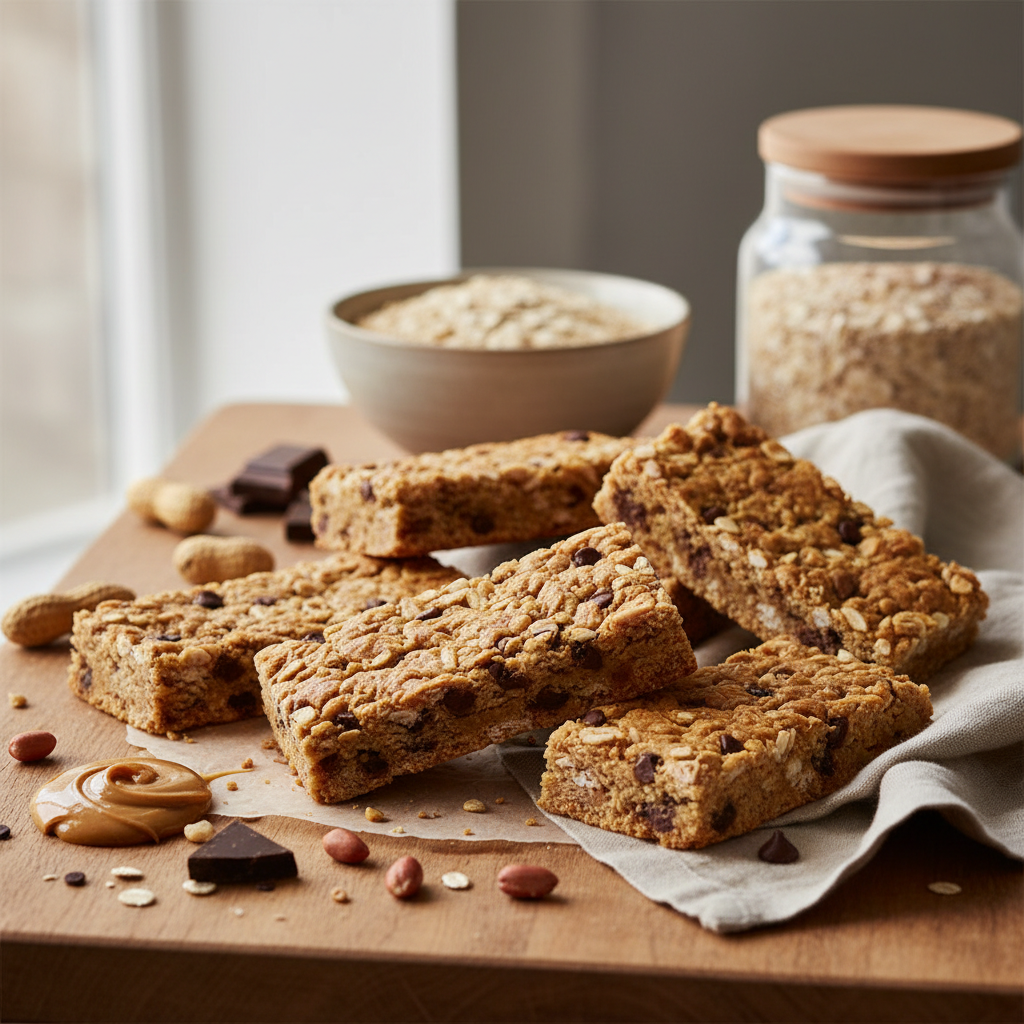
5-Ingredient Peanut Butter Protein Bars: Ready in 12 Minutes
You came for 5-Ingredient Peanut Butter Protein Bars: Ready in 12 Minutes, so the recipe is right below — the notes after it are what keep it from going wrong the first time.
Weigh the main ingredient if you can; volume measures are where most home versions drift. Substitutions for the two trickiest ingredients are listed below.
-
Do Protein Bars Help Weight Loss? 3 Rules for Success
Protein bars often hide 300+ calories behind healthy marketing. If you replace a balanced … -
15 Best Low Sugar Protein Bars That Actually Taste Good
Finding a protein bar with less than 3g of sugar that doesn’t taste like cardboard i… -
Best Protein Bar Comparison: 3 Brands Tested for Low-Carb Success
Finding the best protein bar comparison helps you avoid blood sugar spikes while meeting y… -
Strawberry Cheesecake Yogurt Bowl: 3-Step Low-Carb Breakfast
Transform your morning with this strawberry cheesecake yogurt bowl. It packs 25g of protei…
Stop wasting $5 on store-bought bars filled with hidden sugars. These low-carb peanut butter protein bars take only 12 minutes to prepare and keep you full for 4 hours with just 5 simple ingredients.
The Air-Set Method: in practice
Why Air Frying Beats Baking
Baking protein bars often dries out the whey, resulting in a chalky texture. The air fryer uses circulating heat to firm up the edges while keeping the center soft and chewy.
- Saves 20 minutes of preheating time compared to a standard oven.
- Prevents the bitter burnt taste often found in over-baked protein powders.
- Yields 4 uniform servings that store perfectly for 5 days in a fridge.
Selecting Your Protein Powder
Not all powders work the same in this recipe. Whey isolate is my top choice because it binds better with peanut butter than plant-based alternatives.
- Use whey isolate for the best structural integrity and bite.
- Avoid collagen peptides as they make the bars too rubbery when heated.
- Check for 0g added sugar to keep the carb count under 5g per bar.
Customizing Your Flavor Profile
Peanut butter is the classic base, but you can iterate once you master the technique. Add texture by folding in seeds or unsweetened coconut flakes before the air-set step.
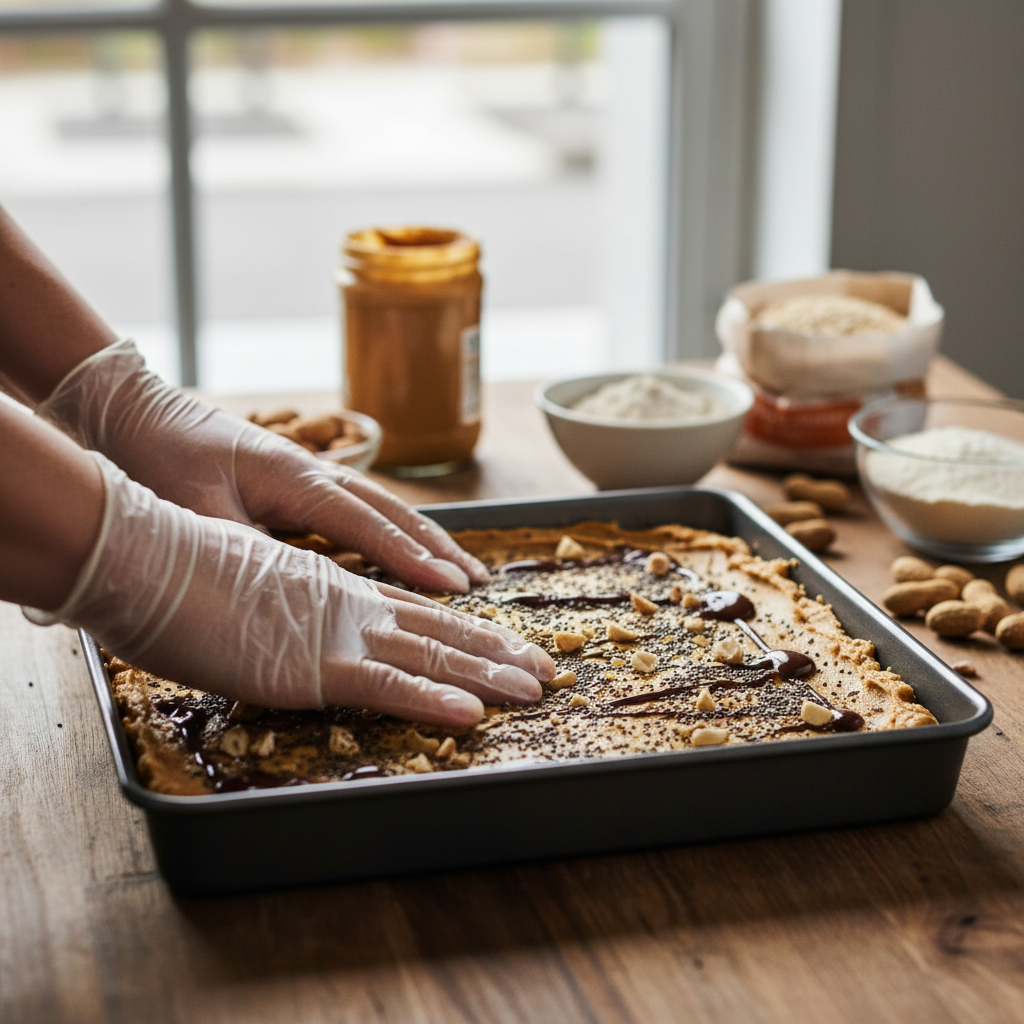
- Fold in 1 tbsp of chia seeds for an extra fiber boost.
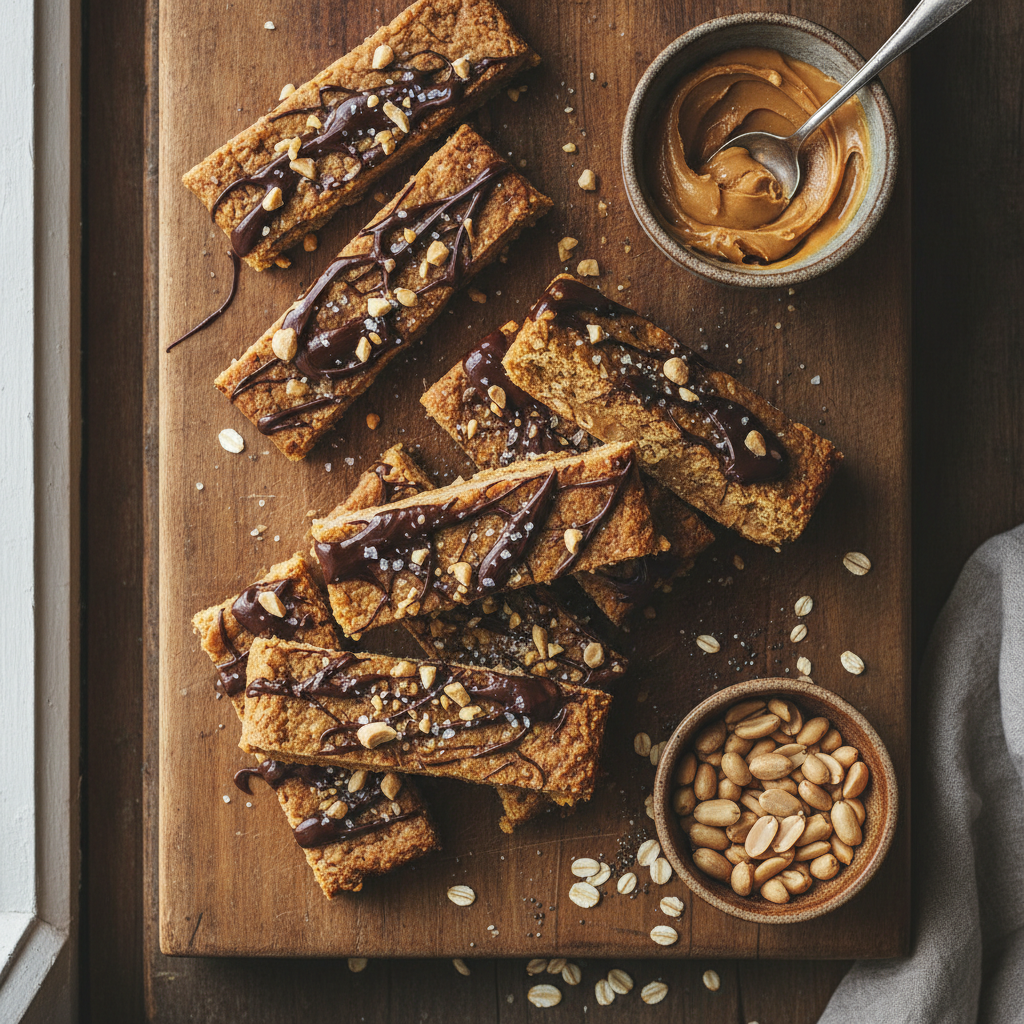
- Drizzle 0.5 oz of melted 85% dark chocolate over the top after cooling.
- Substitute almond butter if you prefer a milder nut flavor profile.
Pros and honest limits
- Low carb and keto-friendly
- High protein content per serving
- Cost-effective compared to pre-packaged bars
- Requires chilling for best texture
- Not suitable for those with severe nut allergies
- Silicone mold is necessary for best results
Storage and Shelf Life Tips
These bars are best kept cold to maintain their snap. If you plan to travel, wrap them in individual wax paper sheets to prevent them from sticking together in your bag.
- Store in an airtight container for up to 7 days in the refrigerator.
- Freeze for 2 months by wrapping each bar in aluminum foil.
- Thaw at room temperature for 10 minutes before eating for best flavor.
Practical comparison
| Ingredient | Function | Swap Option |
|---|---|---|
| Peanut Butter | Binder/Fat | Almond Butter |
| Whey Protein | Structure | Casein Protein |
| Coconut Oil | Firmness | Melted Ghee |
| Sea Salt | Flavor | Cinnamon |
Frequently asked questions
Can I use plant-based protein?
Yes, but you will likely need to add 1-2 tbsp of almond milk to balance the dryness. Plant proteins absorb significantly more moisture than whey.
Do these bars melt in heat?
They soften if left in a hot car. Keep them in a small thermal bag if you are taking them to the gym or work.
What if I don't have a mold?
You can use a small metal loaf pan, but place a piece of parchment paper over the top to prevent the air fryer fan from blowing the powder around.
Can I make these nut-free?
You can swap the peanut butter for sunflower seed butter. The ratio remains the same, though the flavor will be earthier.
Conclusion
Mastering these peanut butter protein bars saves you money and keeps your nutrition on track. With just 12 minutes of active time, you have healthy snacks for the entire work week. Give this air-set method a try this weekend and let me know your favorite mix-ins in the comments below.
📡 RSS
Related reading
How to tell it is done (without opening and poking every minute)
- A clean toothpick is for cake; for a moist batter you want damp crumbs, never wet batter.
- The centre should spring back under light pressure — if it dips, give it 5–8 more minutes.
- A strong smell in the kitchen means almost done. It is the most underrated and most accurate cue.
- Home ovens run up to 35 °F off: a cheap oven thermometer fixes more problems than any recipe tweak.
- Do not open the door for the first two thirds of the bake — that temperature drop is what sinks it.
The 5 mistakes that ruin this recipe — and the fix for each
- Cold ingredients. Cold eggs and dairy curdle the batter. Twenty minutes at room temperature fixes it.
- Overmixing after the flour. It builds gluten and turns the crumb rubbery. Mix only until the flour disappears.
- Wrong pan. Batter that sits too deep bakes outside and stays raw inside. Use the conversion table below.
- Opening the oven early. That sudden temperature drop is the classic cause of a sunken centre.
- Slicing hot. The structure is still setting; 15 minutes of rest changes every slice.
Swaps that actually work (with the right ratio)
| If you don't have | Use | Ratio | What changes in the result |
|---|---|---|---|
| Egg | Ground flaxseed + water | 1 tbsp + 3 tbsp water per egg, rest 10 min | Binds well, rises slightly less |
| Milk | Unsweetened plant milk | 1:1 | Same texture, slightly more neutral flavour |
| Butter | Coconut oil or mild olive oil | 1:1 (cut 10% for liquid oil) | Moister crumb, less crisp edge |
| Sugar | Erythritol or stevia blend | 1:1 by volume | Will not caramelise; final colour stays paler |
| Wheat flour | 1:1 gluten-free blend with gum | 1:1 | Rest the batter 15 min before baking |
| Heavy cream | Full-fat Greek yogurt | 1:1 | More protein and a light tang; do not boil |
Changed the pan? Adjust the time like this
| Original pan | Equivalent | Time adjustment | Watch out for |
|---|---|---|---|
| 8" round | 8×8" square | Same time | Square corners bake faster |
| 9" round | 9×13" pan | −5 to −8 min | Thinner batter, check early |
| Loaf pan | 6 jumbo muffin cups | −15 to −20 min | Cupcakes bake far faster |
| Deep casserole | Two shallow dishes | −10 min | Spreads the heat and prevents a raw centre |
Store, freeze and reheat without wrecking the texture
| Where | How long | How to store | How to bring it back |
|---|---|---|---|
| Counter | 2 days | Airtight box, cut side down | Oven at 300 °F for 6 min |
| Fridge | 5 days | Wrap each slice in film | Microwave 15 s or oven 300 °F for 8 min |
| Freezer | 3 months | Slices separated by parchment | Thaw wrapped to keep the moisture in |
Frequently asked questions
Can I make 5-Ingredient Peanut Butter Protein Bars: Ready in 12 Minutes ahead?
Yes. Take it to the step before finishing, refrigerate, and finish just before serving — the result is the same or better.
Can I double the recipe?
Yes. Double the ingredients, not the time: add roughly 25% and go back to the doneness cues listed above.
What is the real yield per serving?
Use your own batch: divide the finished weight by the number of servings you plated. Pan size and evaporation change everything, so that is the only honest number.
Does it work on any oven or stove?
Yes, but equipment varies by up to 35 °F. Judge by the doneness cues, not the clock, and note your own timing.
How well do leftovers keep?
Very well, following the storage table above. Freeze in flat portions: they thaw evenly and hold their texture.
