
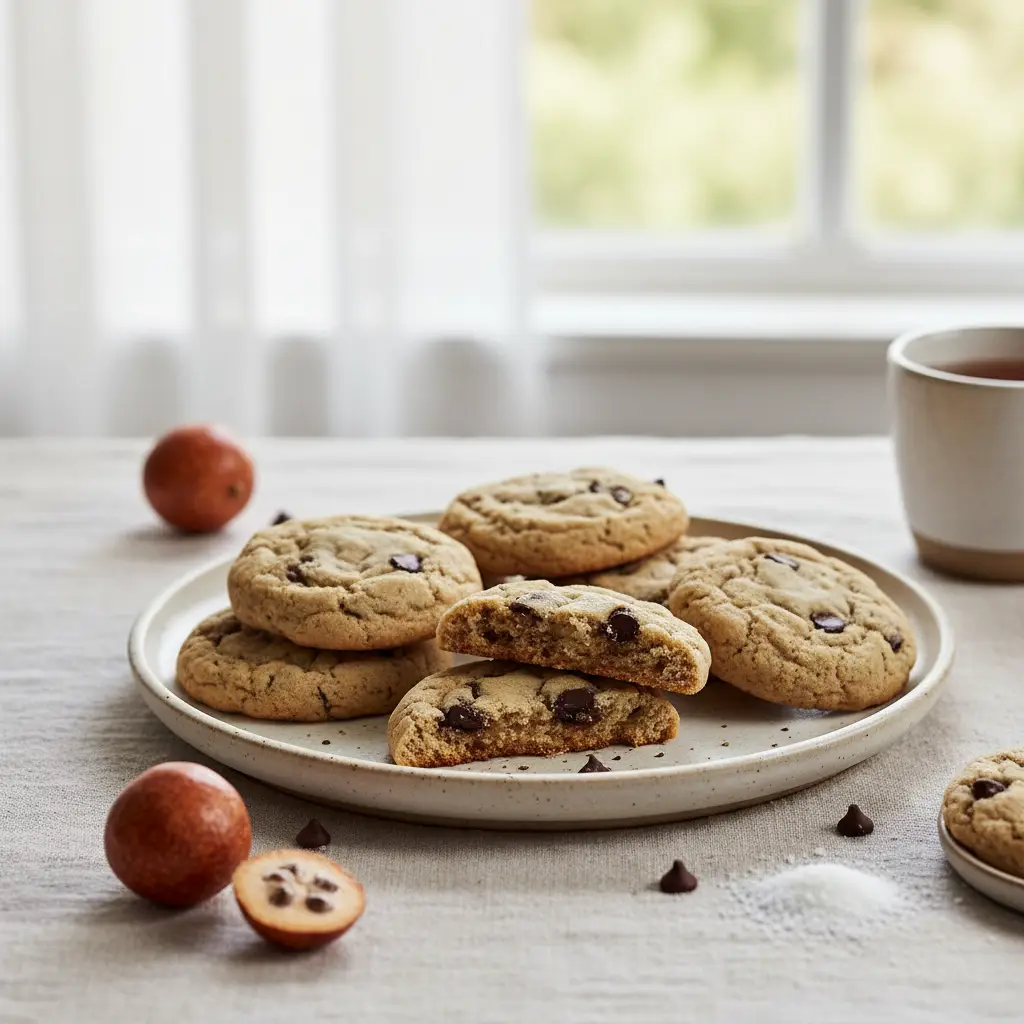
5-Ingredient Low Sugar Protein Cookies: the step most people skip
5-Ingredient Low Sugar Protein Cookies: the step most people skip is easier than it looks once you know what the texture should feel like at each stage — that’s what the photos and cues below are for.
Rest it briefly before serving; the texture settles and the slices hold together. There’s a short troubleshooting list if something goes off.
-
Chocolate Protein Brownies: The 12-Minute Air Fryer Method
These fudgy chocolate protein brownies deliver 15 grams of protein per serving with only 4… -
20 Low Sugar Snacks for Weight Loss Under 150 Calories
Shedding weight doesn’t require starvation. By choosing low sugar snacks, you can ma… -
15 Best Low Sugar Protein Bars That Actually Taste Good
Finding a protein bar with less than 3g of sugar that doesn’t taste like cardboard i… -
Low Sugar Baking Sweetener Guide: 5 Rules for Perfect Results
Master low sugar baking in 15 minutes with this guide. Save 90% of your recipe failures by…
Stop settling for chalky, store-bought snacks. These low sugar protein cookies rely on monk fruit to keep blood sugar stable while packing 15 grams of protein per serving. You can whip up a batch in your air fryer in under 15 minutes total.
The 3-Tray Method: in practice
Why Monk Fruit Wins
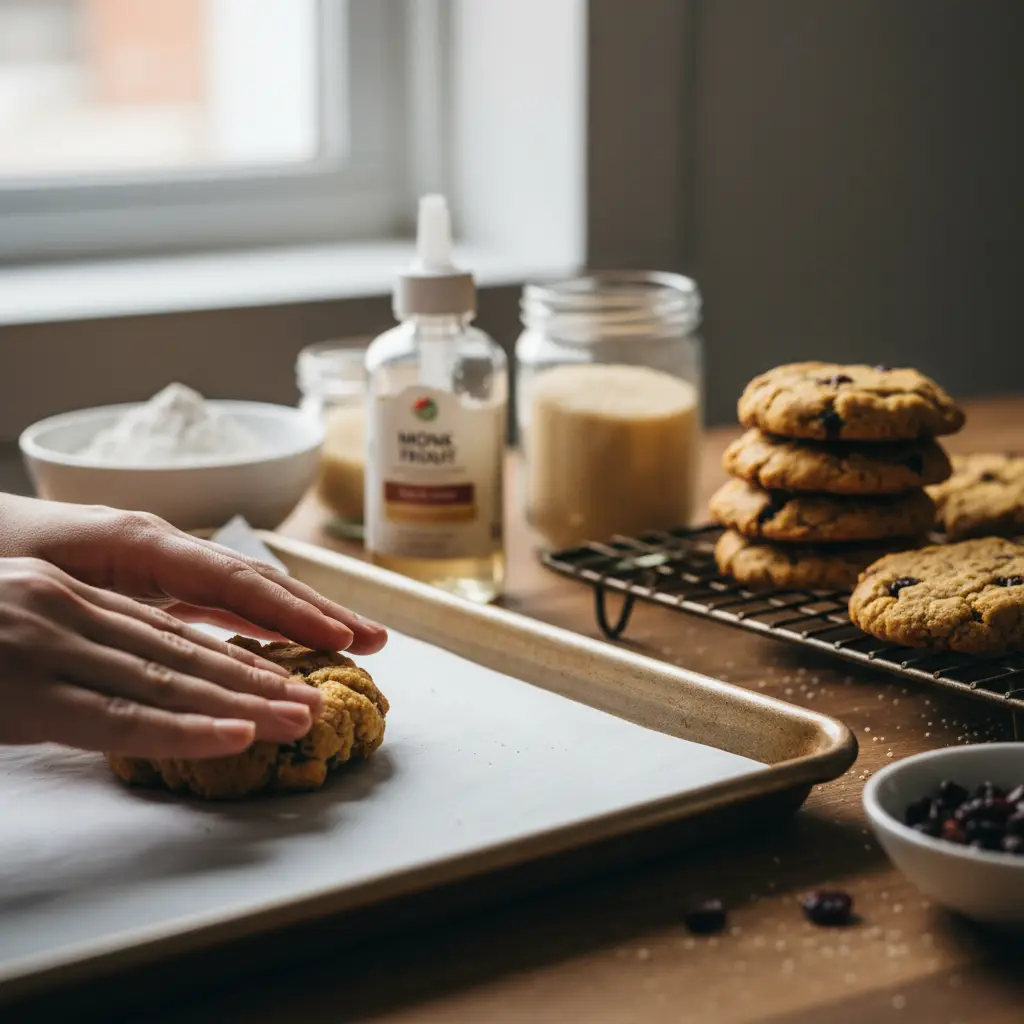
Monk fruit is the gold standard for low-carb bakers because it lacks the bitter aftertaste of stevia. It measures 1:1 like sugar, making recipe conversions effortless.
Unlike sugar alcohols, monk fruit rarely causes digestive distress in most people. It provides the necessary volume for a soft, chewy cookie structure without the glucose spike.
- Use a granulated monk fruit blend for best results.
- Check labels to ensure no hidden dextrose fillers.
- Store in a sealed container for up to 5 days.
Mastering the Air Fryer
The air fryer acts like a high-speed convection oven, perfect for small batches. You get crisp edges and a soft center without heating up your whole kitchen.
Always preheat for at least 3 minutes. Consistency in airflow prevents the tops from burning before the centers are set.
- Use parchment paper liners to prevent sticking.
- Keep cookies 1 inch apart for even browning.
- Check at 6 minutes to avoid over-browning.
Choosing Your Protein Powder
Whey protein isolate is the most common choice for these cookies. It creates a fluffy texture that mimics traditional baked goods perfectly.
If you prefer plant-based proteins, add an extra tablespoon of almond milk. Plant proteins soak up moisture rapidly, which can result in a dry, crumbly mess.
- Avoid unflavored powders for cookie recipes.
- Vanilla or chocolate flavors yield the best taste.
- Ensure your powder is low-carb certified.
Pros and honest limits
- Extremely fast cleanup
- Perfect portion control
- No blood sugar spikes
- Small batches only
- Protein powder texture varies
- Requires parchment paper
Optimizing Your Batch
You can easily double this recipe if you have a larger air fryer basket. Just ensure you aren't overcrowding the surface area.
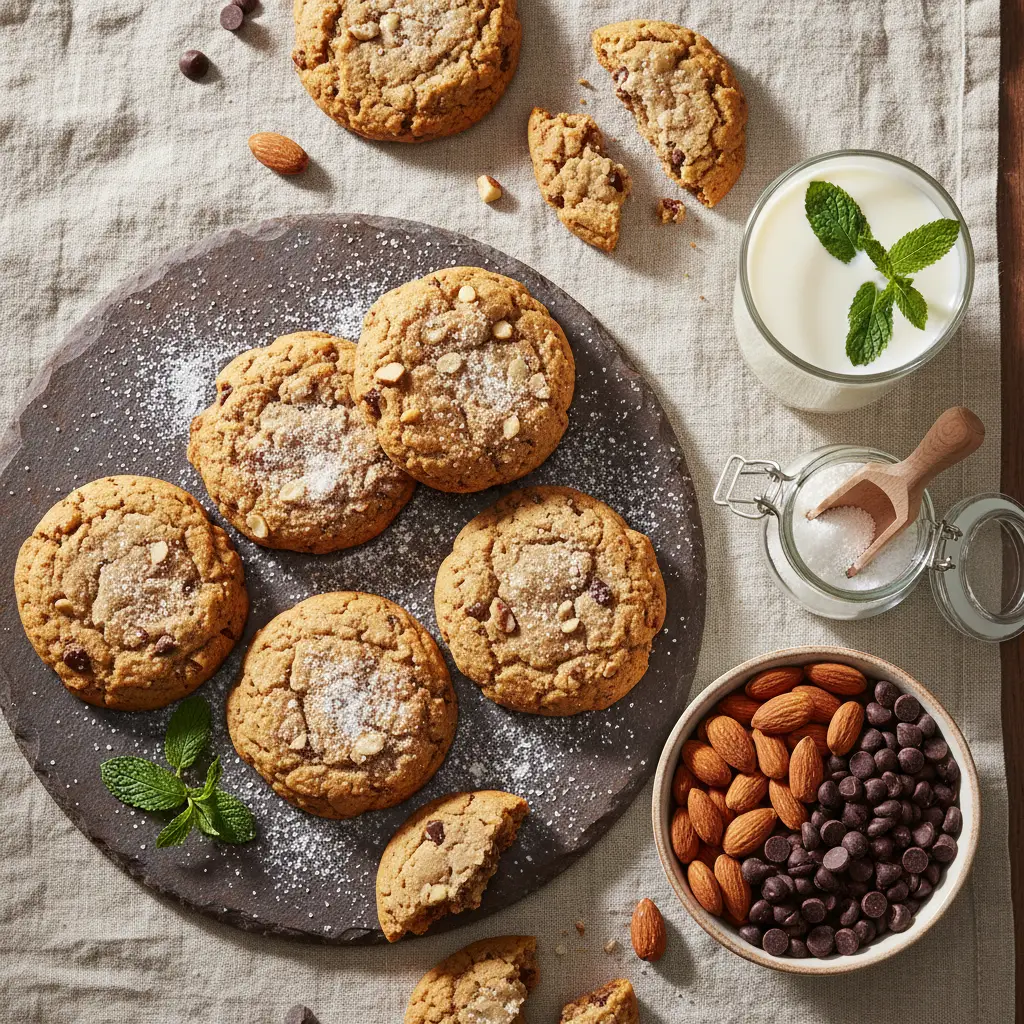
For a decadent treat, fold in 1 tablespoon of sugar-free chocolate chips. This adds less than 1 gram of net carbs per cookie.
- Freeze half the dough for a quick snack later.
- Sprinkle sea salt on top to enhance sweetness.
- Use a cookie scoop for uniform 1-ounce portions.
Ingredient Substitutions
| Ingredient | Low-Carb Swap | Ratio |
|---|---|---|
| White Sugar | Monk Fruit | 1:1 |
| All-Purpose Flour | Almond Flour | 1:1 |
| Butter | Coconut Oil | 1:1 |
| Chocolate Chips | Sugar-Free Chips | 1:1 |
Frequently asked questions
Can I use coconut flour instead?
You cannot use a 1:1 swap. Coconut flour is highly absorbent; use 1/4 cup for every 1 cup of almond flour.
Why are my cookies falling apart?
They likely need more time to cool. Protein-based cookies are delicate when hot and firm up as the fats solidify.
How long do these last?
They stay fresh for 5 days in an airtight container at room temperature. You can freeze them for up to 3 months.
Conclusion
These low sugar protein cookies prove that you don't need a full oven to enjoy a treat. By using the air fryer, you get a consistently soft texture in minutes. Give this recipe a try this weekend and let me know how your batch turned out in the comments below.
📡 RSS
Related reading
How to tell it is done (without opening and poking every minute)
- A clean toothpick is for cake; for a moist batter you want damp crumbs, never wet batter.
- The centre should spring back under light pressure — if it dips, give it 5–8 more minutes.
- A strong smell in the kitchen means almost done. It is the most underrated and most accurate cue.
- Home ovens run up to 35 °F off: a cheap oven thermometer fixes more problems than any recipe tweak.
- Do not open the door for the first two thirds of the bake — that temperature drop is what sinks it.
The 5 mistakes that ruin this recipe — and the fix for each
- Cold ingredients. Cold eggs and dairy curdle the batter. Twenty minutes at room temperature fixes it.
- Overmixing after the flour. It builds gluten and turns the crumb rubbery. Mix only until the flour disappears.
- Wrong pan. Batter that sits too deep bakes outside and stays raw inside. Use the conversion table below.
- Opening the oven early. That sudden temperature drop is the classic cause of a sunken centre.
- Slicing hot. The structure is still setting; 15 minutes of rest changes every slice.
Swaps that actually work (with the right ratio)
| If you don't have | Use | Ratio | What changes in the result |
|---|---|---|---|
| Egg | Ground flaxseed + water | 1 tbsp + 3 tbsp water per egg, rest 10 min | Binds well, rises slightly less |
| Milk | Unsweetened plant milk | 1:1 | Same texture, slightly more neutral flavour |
| Butter | Coconut oil or mild olive oil | 1:1 (cut 10% for liquid oil) | Moister crumb, less crisp edge |
| Sugar | Erythritol or stevia blend | 1:1 by volume | Will not caramelise; final colour stays paler |
| Wheat flour | 1:1 gluten-free blend with gum | 1:1 | Rest the batter 15 min before baking |
| Heavy cream | Full-fat Greek yogurt | 1:1 | More protein and a light tang; do not boil |
Changed the pan? Adjust the time like this
| Original pan | Equivalent | Time adjustment | Watch out for |
|---|---|---|---|
| 8" round | 8×8" square | Same time | Square corners bake faster |
| 9" round | 9×13" pan | −5 to −8 min | Thinner batter, check early |
| Loaf pan | 6 jumbo muffin cups | −15 to −20 min | Cupcakes bake far faster |
| Deep casserole | Two shallow dishes | −10 min | Spreads the heat and prevents a raw centre |
Store, freeze and reheat without wrecking the texture
| Where | How long | How to store | How to bring it back |
|---|---|---|---|
| Counter | 2 days | Airtight box, cut side down | Oven at 300 °F for 6 min |
| Fridge | 5 days | Wrap each slice in film | Microwave 15 s or oven 300 °F for 8 min |
| Freezer | 3 months | Slices separated by parchment | Thaw wrapped to keep the moisture in |
Frequently asked questions
Can I make 5-Ingredient Low Sugar Protein Cookies: the step most people skip ahead?
Yes. Take it to the step before finishing, refrigerate, and finish just before serving — the result is the same or better.
Can I double the recipe?
Yes. Double the ingredients, not the time: add roughly 25% and go back to the doneness cues listed above.
What is the real yield per serving?
Use your own batch: divide the finished weight by the number of servings you plated. Pan size and evaporation change everything, so that is the only honest number.
Does it work on any oven or stove?
Yes, but equipment varies by up to 35 °F. Judge by the doneness cues, not the clock, and note your own timing.
How well do leftovers keep?
Very well, following the storage table above. Freeze in flat portions: they thaw evenly and hold their texture.


