Low Sugar Protein Donuts: our 4-point kitchen checklist
Low Sugar Protein Donuts: our 4-point kitchen checklist lives or dies on two details: the temperature and the moment you stop cooking. Both are spelled out here.
If you are doubling the batch, cook in two rounds instead of one crowded one. Freezer instructions included, with the thawing time.
-
Chocolate Protein Brownies: The 12-Minute Air Fryer Method
These fudgy chocolate protein brownies deliver 15 grams of protein per serving with only 4… -
20 Low Sugar Snacks for Weight Loss Under 150 Calories
Shedding weight doesn’t require starvation. By choosing low sugar snacks, you can ma… -
15 Best Low Sugar Protein Bars That Actually Taste Good
Finding a protein bar with less than 3g of sugar that doesn’t taste like cardboard i… -
Low Sugar Baking Sweetener Guide: 5 Rules for Perfect Results
Master low sugar baking in 15 minutes with this guide. Save 90% of your recipe failures by…
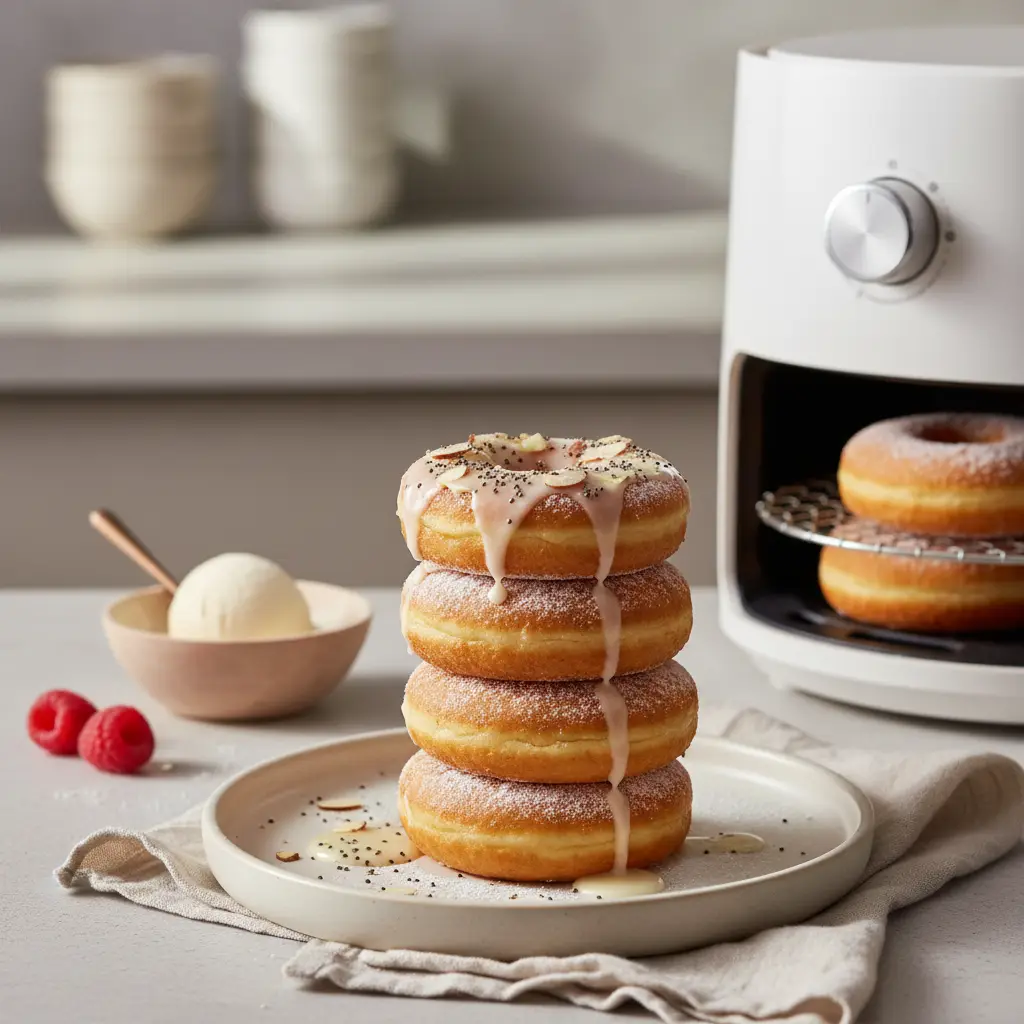
These low sugar protein donuts deliver a cake-like texture with 20g of protein per serving. You can bypass the bakery line and satisfy your cravings in under 15 minutes using items already in your pantry.
The Batter-Crisp Flow: in practice
Why Air Frying Works
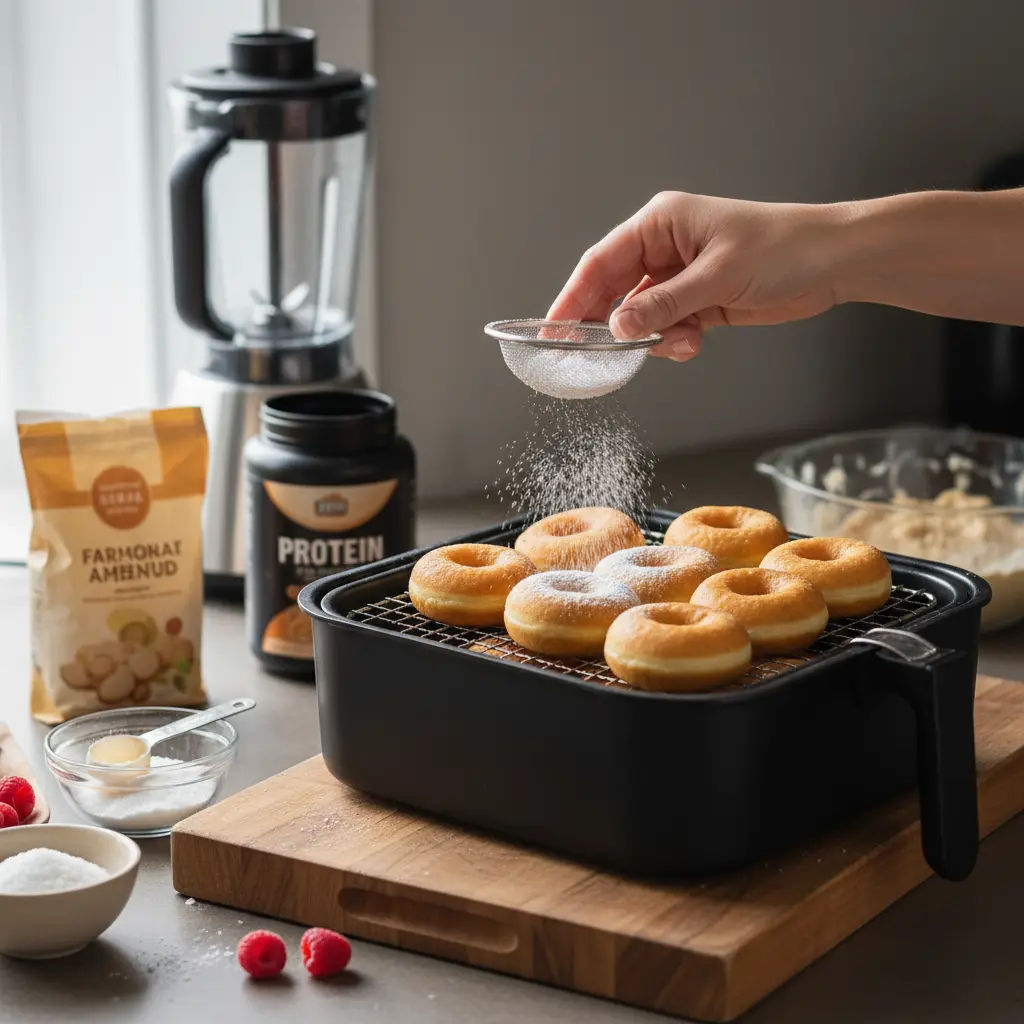
Traditional oven baking dries out protein-heavy doughs quickly. The air fryer circulates heat at 320°F, creating a crisp exterior while keeping the center moist.
Most traditional donut recipes rely on deep frying in inflammatory oils. This method uses zero added oil and saves you about $5 per dozen compared to store-bought options.
- Saves 15 minutes of preheating time compared to a standard oven.
- Reduces fat intake by 60% due to the lack of deep frying.
- Consistent heat distribution ensures the center cooks evenly without burning.
Choosing the Right Protein
Not all protein powders act the same in baking. Whey isolate tends to get rubbery if overheated, so prioritize a whey and casein blend.
If you prefer plant-based options, use a pea protein blend. It absorbs more moisture, so add an extra 2 tablespoons of almond milk to your mix.
- Look for unflavored powders to control the sweetness level.
- Avoid hydrolyzed collagen as it lacks the structure needed for donuts.
- Always check labels for hidden fillers or high-sugar additives.
Mastering the Texture
The secret to a donut-like crumb is the egg-to-flour ratio. Use 1 large egg for every 1/2 cup of dry ingredients to maintain structure.
Don't skip the resting period. Allowing the batter to sit for 5 minutes before cooking lets the fibers hydrate, resulting in a better rise.
- Use silicone molds to ensure easy removal without sticking.
- Lightly spray the mold with avocado oil spray to get that golden sheen.
- Fold in 1 tablespoon of sugar-free dark chocolate chips for extra indulgence.
Pros and honest limits
- Ready in under 15 minutes
- High protein count per serving
- No deep frying required
- Requires specific silicone mold
- Protein powder affects final texture
- Dries out if overcooked
Storage and Reheating
These donuts stay fresh for 3 days in an airtight container at room temperature. For longer storage, keep them in the fridge for up to 7 days.
To reheat, place them back in the air fryer at 300°F for 2 minutes. This restores the crispness that gets lost in the microwave.
- Wrap individual donuts in parchment paper to prevent them from sticking.
- Freeze for up to 30 days if you make a large batch.
- Thaw at room temperature for 20 minutes before reheating for best results.
Practical comparison
| Method | Texture | Time (min) | Ease |
|---|---|---|---|
| Air Fryer | Crisp/Light | 12 | High |
| Oven | Soft/Doughy | 25 | Medium |
| Stovetop | Greasy | 15 | Low |
| Microwave | Rubbery | 3 | Very Low |
Frequently asked questions
Can I use a different sweetener?
Yes, erythritol or monk fruit blends work best. Stick to granular versions for the best consistency.
Do I need a special mold?
Yes, a silicone donut mold is essential for the shape. They cost about $8 and are essential for this recipe.
Why are my donuts rubbery?
You likely over-mixed the batter or used too much protein powder. Mix until just combined and stop immediately.
Can I make these vegan?
Use a flax egg and pea protein. Note that the texture will be denser than the egg-based version.
Conclusion
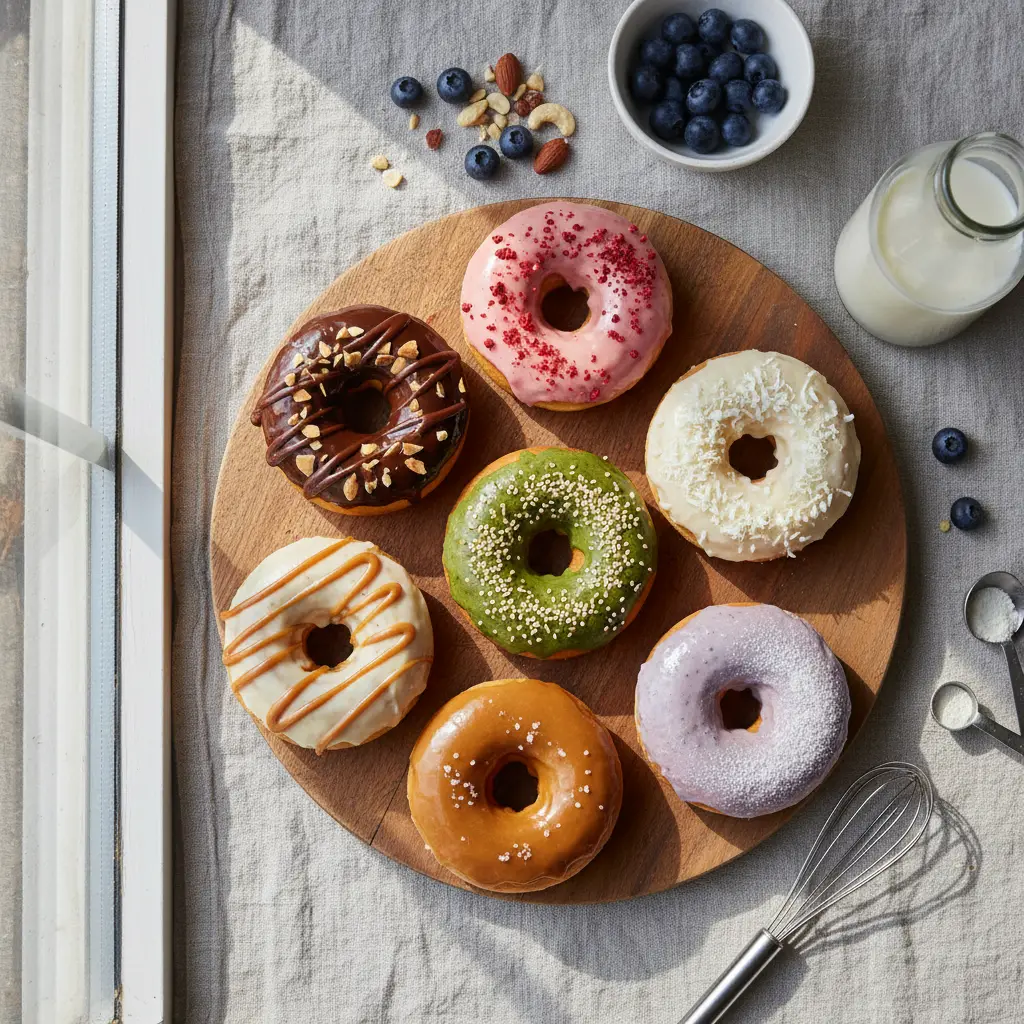
These low sugar protein donuts are the ultimate healthy treat for busy mornings. With only 12 minutes of cooking, you have no reason to skip a high-protein breakfast. Try this recipe today and let me know which flavor combination you prefer in the comments.
📡 RSS
Leia também: air fryer protein donuts
Leia também: chocolate protein donuts
Leia também: double chocolate protein donuts
Leia também: maple protein donuts
How to tell it is done (without opening and poking every minute)
- A clean toothpick is for cake; for a moist batter you want damp crumbs, never wet batter.
- The centre should spring back under light pressure — if it dips, give it 5–8 more minutes.
- A strong smell in the kitchen means almost done. It is the most underrated and most accurate cue.
- Home ovens run up to 35 °F off: a cheap oven thermometer fixes more problems than any recipe tweak.
- Do not open the door for the first two thirds of the bake — that temperature drop is what sinks it.
The 5 mistakes that ruin this recipe — and the fix for each
- Cold ingredients. Cold eggs and dairy curdle the batter. Twenty minutes at room temperature fixes it.
- Overmixing after the flour. It builds gluten and turns the crumb rubbery. Mix only until the flour disappears.
- Wrong pan. Batter that sits too deep bakes outside and stays raw inside. Use the conversion table below.
- Opening the oven early. That sudden temperature drop is the classic cause of a sunken centre.
- Slicing hot. The structure is still setting; 15 minutes of rest changes every slice.
Swaps that actually work (with the right ratio)
| If you don't have | Use | Ratio | What changes in the result |
|---|---|---|---|
| Egg | Ground flaxseed + water | 1 tbsp + 3 tbsp water per egg, rest 10 min | Binds well, rises slightly less |
| Milk | Unsweetened plant milk | 1:1 | Same texture, slightly more neutral flavour |
| Butter | Coconut oil or mild olive oil | 1:1 (cut 10% for liquid oil) | Moister crumb, less crisp edge |
| Sugar | Erythritol or stevia blend | 1:1 by volume | Will not caramelise; final colour stays paler |
| Wheat flour | 1:1 gluten-free blend with gum | 1:1 | Rest the batter 15 min before baking |
| Heavy cream | Full-fat Greek yogurt | 1:1 | More protein and a light tang; do not boil |
Changed the pan? Adjust the time like this
| Original pan | Equivalent | Time adjustment | Watch out for |
|---|---|---|---|
| 8" round | 8×8" square | Same time | Square corners bake faster |
| 9" round | 9×13" pan | −5 to −8 min | Thinner batter, check early |
| Loaf pan | 6 jumbo muffin cups | −15 to −20 min | Cupcakes bake far faster |
| Deep casserole | Two shallow dishes | −10 min | Spreads the heat and prevents a raw centre |
Store, freeze and reheat without wrecking the texture
| Where | How long | How to store | How to bring it back |
|---|---|---|---|
| Counter | 2 days | Airtight box, cut side down | Oven at 300 °F for 6 min |
| Fridge | 5 days | Wrap each slice in film | Microwave 15 s or oven 300 °F for 8 min |
| Freezer | 3 months | Slices separated by parchment | Thaw wrapped to keep the moisture in |
Frequently asked questions
Can I make Low Sugar Protein Donuts: our 4-point kitchen checklist ahead?
Yes. Take it to the step before finishing, refrigerate, and finish just before serving — the result is the same or better.
Can I double the recipe?
Yes. Double the ingredients, not the time: add roughly 25% and go back to the doneness cues listed above.
What is the real yield per serving?
Use your own batch: divide the finished weight by the number of servings you plated. Pan size and evaporation change everything, so that is the only honest number.
Does it work on any oven or stove?
Yes, but equipment varies by up to 35 °F. Judge by the doneness cues, not the clock, and note your own timing.
How well do leftovers keep?
Very well, following the storage table above. Freeze in flat portions: they thaw evenly and hold their texture.