
Protein Pudding: How to Make a Creamy Low-Carb Treat in 5 Minutes
Protein Pudding: How to Make a Creamy Low-Carb Treat in 5 Minutes takes less active time than most people assume. Most of it is waiting.
If you are doubling the batch, cook in two rounds instead of one crowded one. There’s a short troubleshooting list if something goes off.
-
Protein Cheesecake: 3 Simple Steps to Low-Carb Success
Stop settling for dry protein snacks. This air fryer protein cheesecake delivers a creamy,… -
Protein Pudding No Protein Powder: 3-Ingredient Low-Carb Hack
Stop overpaying for processed powders. You can make a thick, creamy protein pudding no pro… -
How Many Eggs Per Day Is Actually Safe? 3 Proven Rules
Finding the sweet spot for egg consumption can boost your protein intake without spiking c… -
Best Time Protein Shake Fat Loss: 3 Proven Timing Strategies
Finding the best time protein shake fat loss results requires simple math. By timing your …
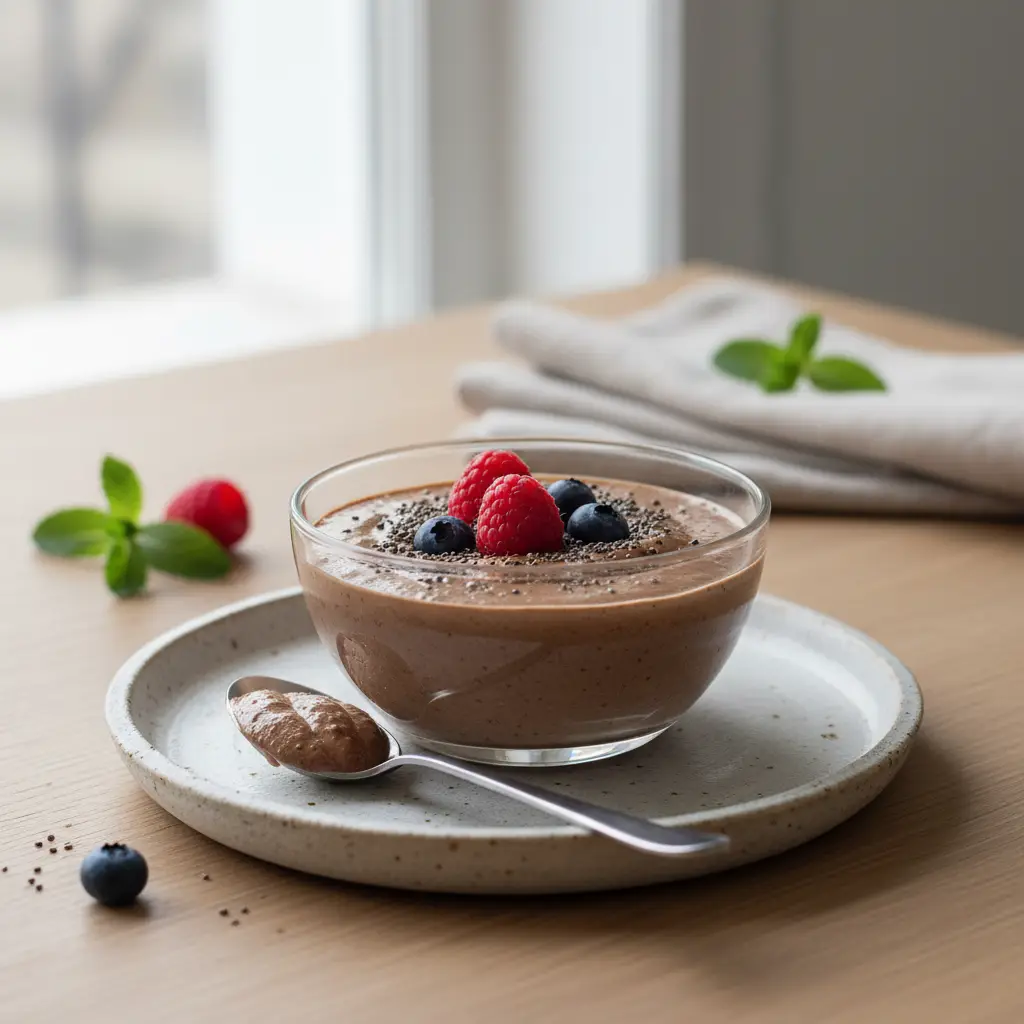
Stop settling for gritty protein shakes. This protein pudding method creates a rich, mousse-like dessert with under 5g of net carbs. You can satisfy your sweet tooth while hitting your macros in less than 5 minutes of active prep time.
Creamy Low-Carb Protein Pudding
Ingredients
- 1 cup full-fat cottage cheese
- 1/2 cup plain Greek yogurt
- 2 scoops vanilla whey protein powder
- 1 tbsp almond butter
- 1 tbsp erythritol sweetener
- 1/2 tsp vanilla extract
- 1/8 tsp sea salt
- 2 tbsp unsweetened almond milk
Instructions
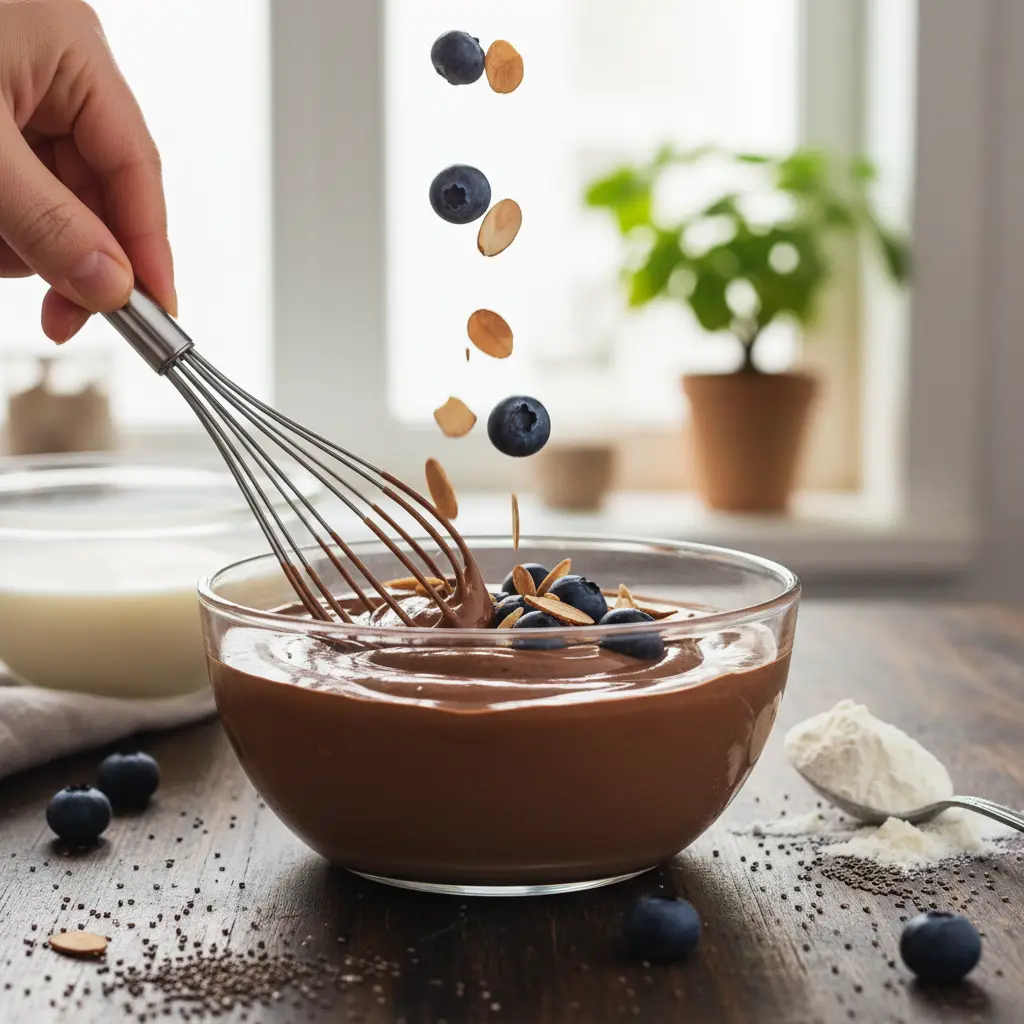
- Combine the cottage cheese, Greek yogurt, protein powder, almond butter, sweetener, vanilla, and salt in a high-speed blender.
- Blend on high for 60 seconds until the cottage cheese curds are completely smooth and the mixture is aerated.
- Add the almond milk one tablespoon at a time if the consistency is too thick, blending briefly to incorporate.
- Transfer the mixture into two small glass ramekins or serving bowls.
- Chill in the refrigerator for 30 minutes to allow the pudding to set and thicken before serving.
- If the pudding is too thick, add an additional tablespoon of almond milk until you reach your desired consistency.
- Store leftovers in an airtight container in the refrigerator for up to 3 days.
- For a chocolate version, swap the vanilla protein for chocolate whey and add 1 tablespoon of unsweetened cocoa powder.
The 3-Step Whip: in practice
The Science of Texture
Most people fail at protein pudding because they use too much liquid. You need a 1:1 ratio of powder to liquid to get that thick, spoonable consistency you want.
Adding fat like heavy cream or coconut milk helps create a mouthfeel closer to real pudding. Just a small splash goes a long way in improving the experience.
- Use a high-quality whey-casein blend for the best results.
- Avoid excessive stirring which can introduce too many air bubbles.
- Let the mixture rest so the thickeners can activate properly.
Flavoring Your Pudding
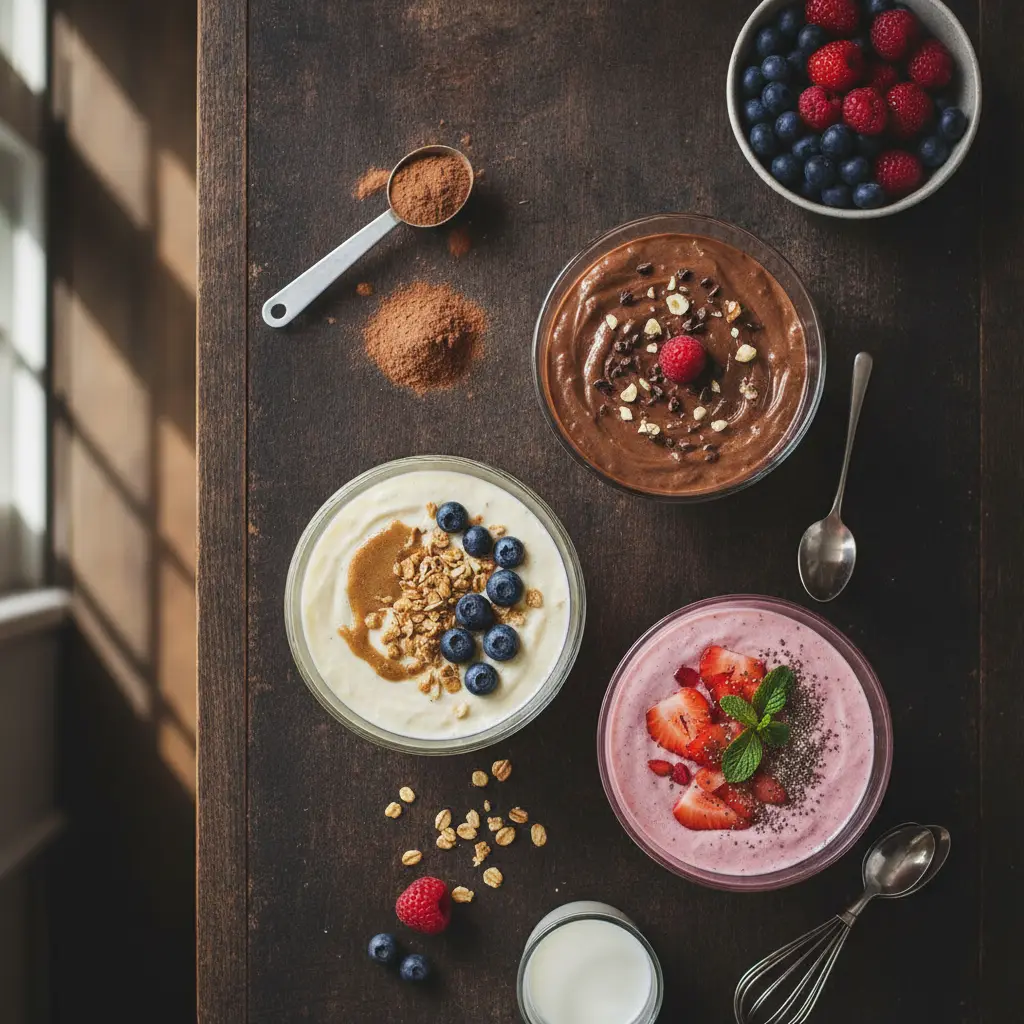
You don't need expensive syrups to make this taste good. Cocoa powder, cinnamon, or a drop of vanilla extract can transform a plain protein base into a gourmet dessert.
If you find the taste too artificial, add a pinch of sea salt. It balances the sweetness of the sugar substitutes effectively.
- Add 1 tablespoon of unsweetened cocoa for a chocolate fix.
- Use liquid stevia to avoid the grittiness of granulated sweeteners.
- Fold in 1 tablespoon of crushed walnuts for added crunch.
Low-Carb Additions
Keep your pudding keto-friendly by sticking to low-glycemic mix-ins. Berries are perfect for a fresh contrast to the creamy base.
Frozen raspberries add a slight tartness that cuts through the richness of the protein powder. It also adds a nice refreshing chill to every bite.
- Top with 1/4 cup of fresh blackberries.
- Sprinkle with 1 teaspoon of hemp hearts for extra protein.
- Drizzle with a tiny amount of sugar-free melted chocolate.
Pros and honest limits
- High protein density
- Ready in minutes
- Highly customizable
- Requires chilling time
- Texture can be gummy if over-thickened
- Some sweeteners leave an aftertaste
Storage and Prep
You can easily double this recipe to have breakfast or snacks ready for 4 days. Keep it in airtight glass containers to maintain freshness and prevent odor absorption.
Don't freeze the pudding, as it will separate and ruin the texture upon thawing. Stick to short-term refrigeration for the best quality.
- Store in 8 oz mason jars for easy grabbing.
- Keep chilled at 40°F in the back of the fridge.
- Consume within 4 days for the best flavor profile.
Practical comparison
| Ingredient | Function | Impact |
|---|---|---|
| Xanthan Gum | Thickener | High Consistency |
| Chia Seeds | Fiber | Adds Texture |
| Heavy Cream | Fat Source | Improves Mouthfeel |
| Sea Salt | Enhancer | Balances Flavor |
Frequently asked questions
Can I use plant-based protein?
Yes, but you will need 20% more liquid. Plant proteins absorb moisture differently than dairy-based powders.
How many carbs are in this?
Most servings contain between 3g and 5g of net carbs. This depends entirely on your choice of protein powder.
Is this safe for kids?
It is safe for children, but check the labels on protein powders for caffeine or stimulant additives.
Why is my pudding watery?
You likely didn't use enough thickening agent. Add another 1/8 teaspoon of xanthan gum and whisk again.
Conclusion
Protein pudding is the ultimate low-carb hack for anyone craving dessert without the sugar crash. With just a few staple ingredients and 5 minutes of work, you have a high-protein snack ready to go. Give this method a try tonight and let me know your favorite flavor combination in the comments below.
📡 RSS
Related reading
How to tell it is done (without opening and poking every minute)
- Chilled-set means firm at the edge with a slight wobble in the centre: it finishes setting cold.
- Under 4 hours in the fridge is the number one cause of layers that slump on the plate.
- Building it in a glass? Chill the glass first: the bottom layer holds its line from the first spoonful.
- Cream that will not whip was almost always warm — bowl and whisk have to be cold.
- Cover with plastic touching the surface so it neither skins over nor picks up fridge smells.
The 5 mistakes that ruin this recipe — and the fix for each
- Rushing the chill. Under 4 hours and the layer slumps. Make it the night before: it improves, never suffers.
- Warm base. A warm layer melts the one above it. Every layer must be cold before the next goes on.
- Overwhipping the cream. Past the peak it splits. Stop when the whisk leaves a firm trail.
- Smudged glass. The glass build is the product: wipe the rim with paper after every layer.
- Freezing it assembled. Thawing releases water between the layers. Freeze the components separately.
Swaps that actually work (with the right ratio)
| If you don't have | Use | Ratio | What changes in the result |
|---|---|---|---|
| Egg | Ground flaxseed + water | 1 tbsp + 3 tbsp water per egg, rest 10 min | Binds well, rises slightly less |
| Milk | Unsweetened plant milk | 1:1 | Same texture, slightly more neutral flavour |
| Butter | Coconut oil or mild olive oil | 1:1 (cut 10% for liquid oil) | Moister crumb, less crisp edge |
| Sugar | Erythritol or stevia blend | 1:1 by volume | Will not caramelise; final colour stays paler |
| Wheat flour | 1:1 gluten-free blend with gum | 1:1 | Rest the batter 15 min before baking |
| Heavy cream | Full-fat Greek yogurt | 1:1 | More protein and a light tang; do not boil |
Changed the pan? Adjust the time like this
| Original pan | Equivalent | Time adjustment | Watch out for |
|---|---|---|---|
| 8" round | 8×8" square | Same time | Square corners bake faster |
| 9" round | 9×13" pan | −5 to −8 min | Thinner batter, check early |
| Loaf pan | 6 jumbo muffin cups | −15 to −20 min | Cupcakes bake far faster |
| Deep casserole | Two shallow dishes | −10 min | Spreads the heat and prevents a raw centre |
Store, freeze and reheat without wrecking the texture
| Where | How long | How to store | How to bring it back |
|---|---|---|---|
| Fridge | 3 days | Plastic touching the surface | Serve straight from cold |
| Freezer | 1 month (components) | Layers separate, never assembled | Thaw 6 h in the fridge |
| Transport | 2 hours | Cooler with ice underneath | Assemble on arrival so layers hold |
Frequently asked questions
Can I make Protein Pudding: How to Make a Creamy Low-Carb Treat in 5 Minutes ahead?
Yes. Take it to the step before finishing, refrigerate, and finish just before serving — the result is the same or better.
Can I double the recipe?
Yes. Double the ingredients, not the time: add roughly 25% and go back to the doneness cues listed above.
What is the real yield per serving?
Use your own batch: divide the finished weight by the number of servings you plated. Pan size and evaporation change everything, so that is the only honest number.
Does it work on any oven or stove?
Yes, but equipment varies by up to 35 °F. Judge by the doneness cues, not the clock, and note your own timing.
How well do leftovers keep?
Very well, following the storage table above. Freeze in flat portions: they thaw evenly and hold their texture.


