Meal Prep Protein Bars: 5-Ingredient Low-Carb Recipe
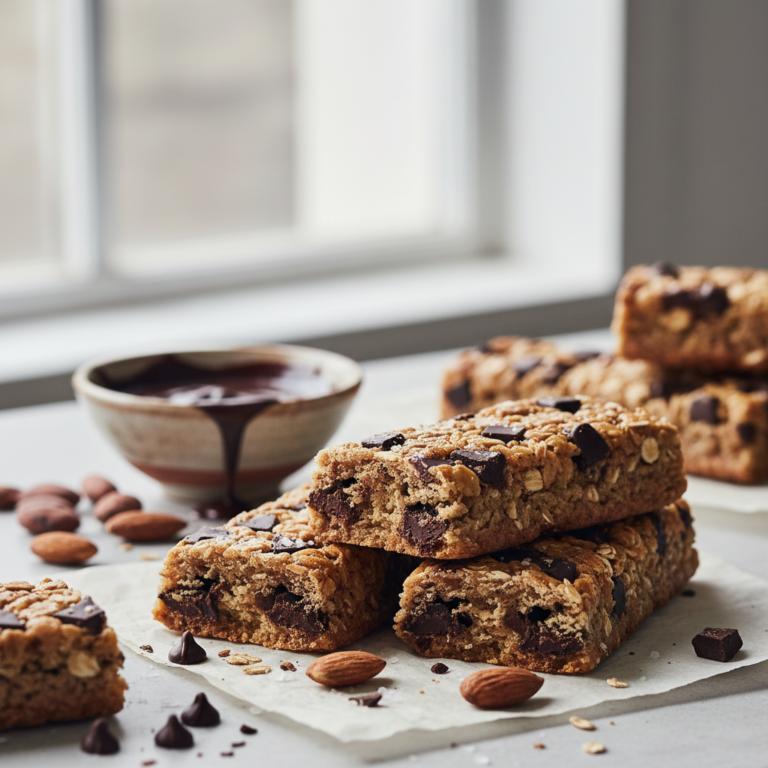
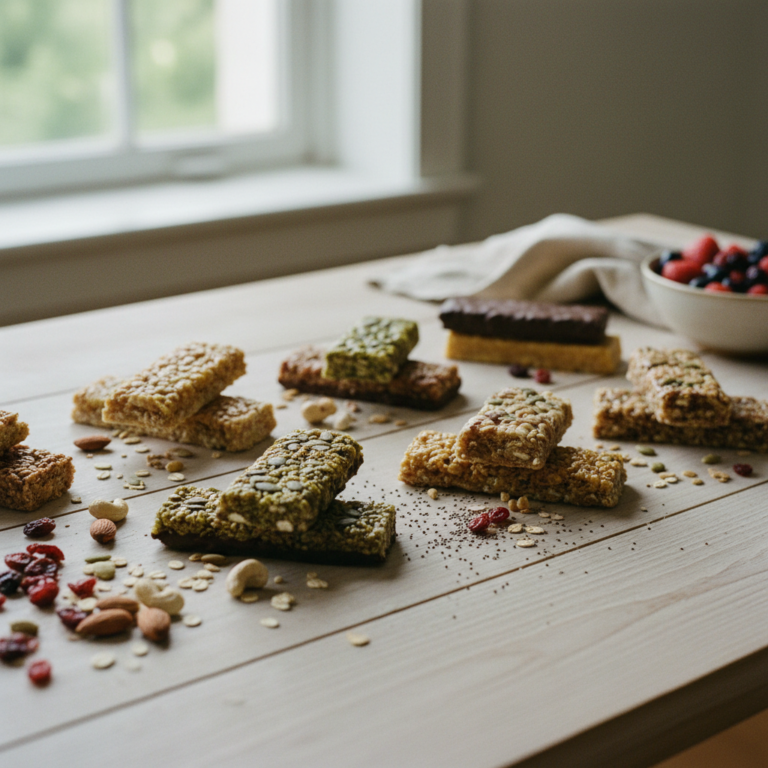
Stop spending $4 per bar on processed snacks. You can make 10 delicious, high-protein, low-carb bars in under 20 minutes using your air fryer. These homemade treats keep you full for 4 hours and save you over $30 a week.
The 3-Phase Set: in practice
Why Air Fryer Bars Win
Most store-bought bars are filled with hidden sugars and binders that spike your insulin. By using an air fryer, you control the heat to get a toasted flavor that mimics a baked good without the long oven wait.
I started making these because standard baking takes 30 minutes just to preheat. The air fryer saves me 10 minutes of electricity and keeps my kitchen from heating up during the summer months.
- Saves 15 minutes of total prep time compared to traditional ovens
- Zero added corn syrup or artificial sweeteners
- Costs less than $0.75 per serving to manufacture at home
Selecting Your Protein Powder
The type of protein powder dictates whether your bars turn out chewy or chalky. I recommend a whey and casein blend because it holds moisture better than pure whey isolate when exposed to air fryer heat.
Always test your powder with a small splash of water first. If it turns into a thick paste immediately, you only need 1/3 cup of liquid for the whole batch.
- Use a vanilla or unflavored base for maximum versatility
- Avoid pea protein if you dislike earthy, chalky aftertastes
- Ensure your powder contains less than 2g of sugar per scoop
The Science of the Binder
Without a proper binder, your bars will crumble into dust the second you bite into them. I use a mix of almond butter and a touch of melted coconut oil to create a cohesive structure.
The coconut oil acts as a solidifying agent once the bars cool. This is the secret to getting a firm texture that doesn't melt in your gym bag.
- Almond butter provides a neutral flavor profile
- Coconut oil creates a perfect, non-greasy finish
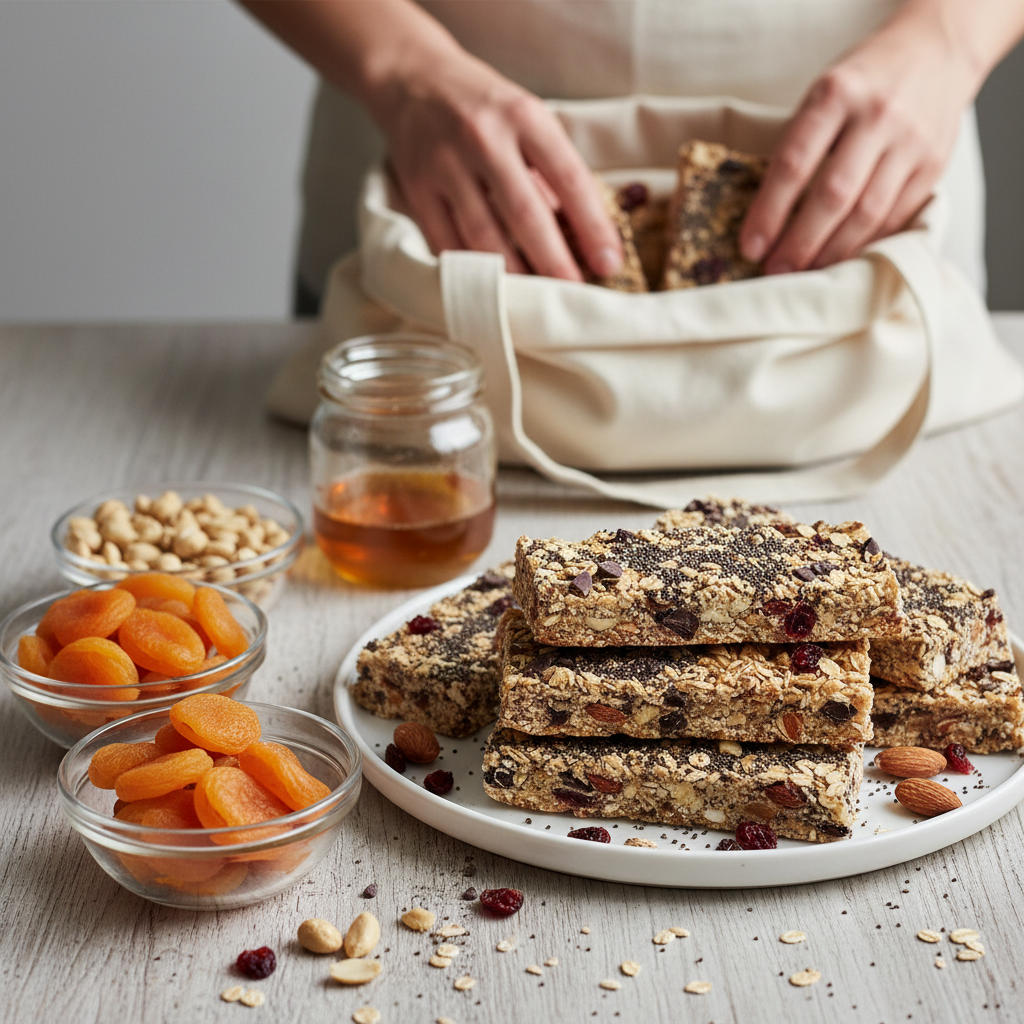
- Adding 1 tbsp of chia seeds adds structure and crunch
Pros and honest limits
- Low net carb count
- High protein density
- Customizable flavors
- Requires refrigeration
- Higher fat content
- Fragile if not chilled
Storage and Shelf Life
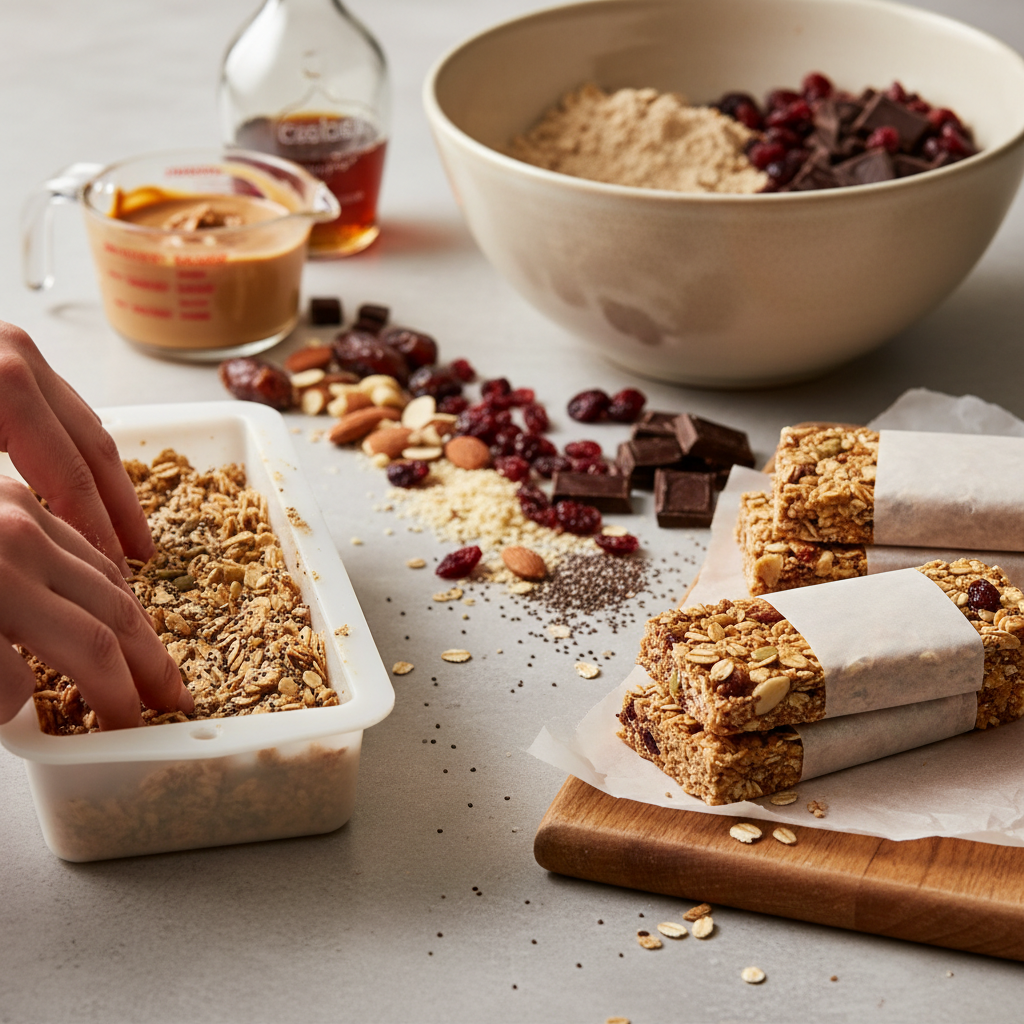
Homemade bars lack the synthetic preservatives found in shelf-stable products. You must keep them in the refrigerator inside an airtight container for up to 7 days.
If you plan on making a large batch, wrap individual bars in parchment paper before freezing. They stay fresh for up to 3 months when stored properly in a freezer-safe bag.
- Keep refrigerated to prevent softening
- Use parchment paper to avoid sticking in the freezer
- Thaw for 5 minutes at room temperature before eating
Practical comparison
| Method | Texture | Time Required |
|---|---|---|
| No-Bake | Soft/Doughy | 1 hr (chill) |
| Oven Baked | Dry | 45 min |
| Air Fryer | Toasted/Firm | 20 min |
Frequently asked questions
Can I use vegan protein?
Yes, but you will need to add an extra tablespoon of almond butter. Vegan protein absorbs more moisture than dairy-based powders.
How do I stop them from burning?
Place a small piece of parchment paper over the top of the bars during the last 2 minutes. This prevents the top from drying out too fast.
Can I leave them on the counter?
No. Because they contain natural fats and no preservatives, they will go rancid if left out for more than 4 hours.
Conclusion
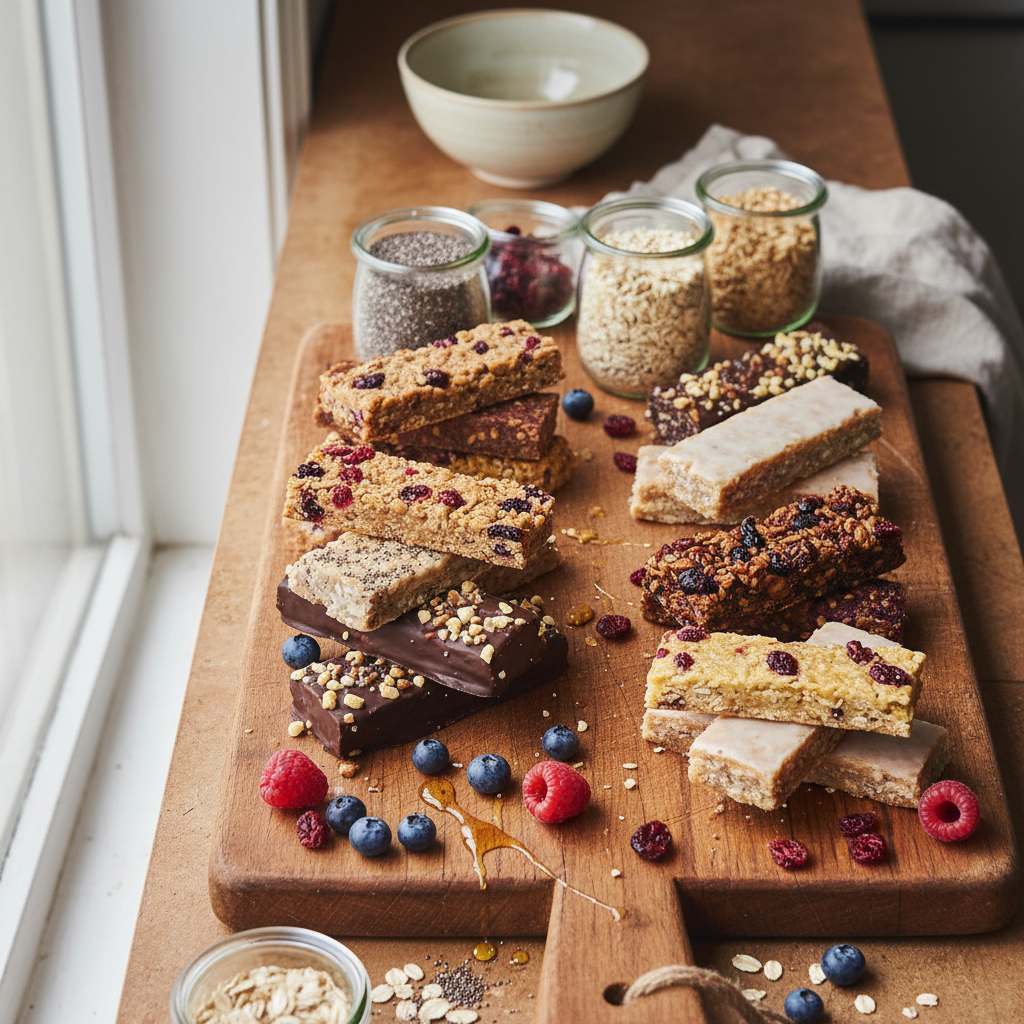
Mastering meal prep protein bars is the fastest way to stay on track with your macros. Once you nail these 3 simple steps, you will never go back to overpriced store snacks again. Grab your ingredients, fire up the fryer, and secure your healthy snacks for the week ahead.