No Bake Protein Cookies: 3 Easy Methods for Low-Carb Snacking
Before you start No Bake Protein Cookies: 3 Easy Methods for Low-Carb Snacking, read the ingredient notes: two of them decide the final texture.
Weigh the main ingredient if you can; volume measures are where most home versions drift. There’s a short troubleshooting list if something goes off.
-
Protein Cinnamon Roll Bites: 12-Minute Low-Carb Treat
These protein cinnamon roll bites satisfy cravings with 20g of protein and just 5g of net … -
Overnight Protein Cinnamon Rolls: 4 Easy, High-Protein Bites
Master these overnight protein cinnamon rolls to save 20 minutes every morning. You get 25… -
Cottage Cheese Egg Bites Meal Prep: 15g Protein in 12 Minutes
Master cottage cheese egg bites meal prep to save 4 hours of weekly morning labor. These l… -
Cottage Cheese Chocolate Mousse: No Bake, 3-Step Low-Carb Treat
Stop settling for gritty low-carb desserts. This cottage cheese chocolate mousse no bake m…
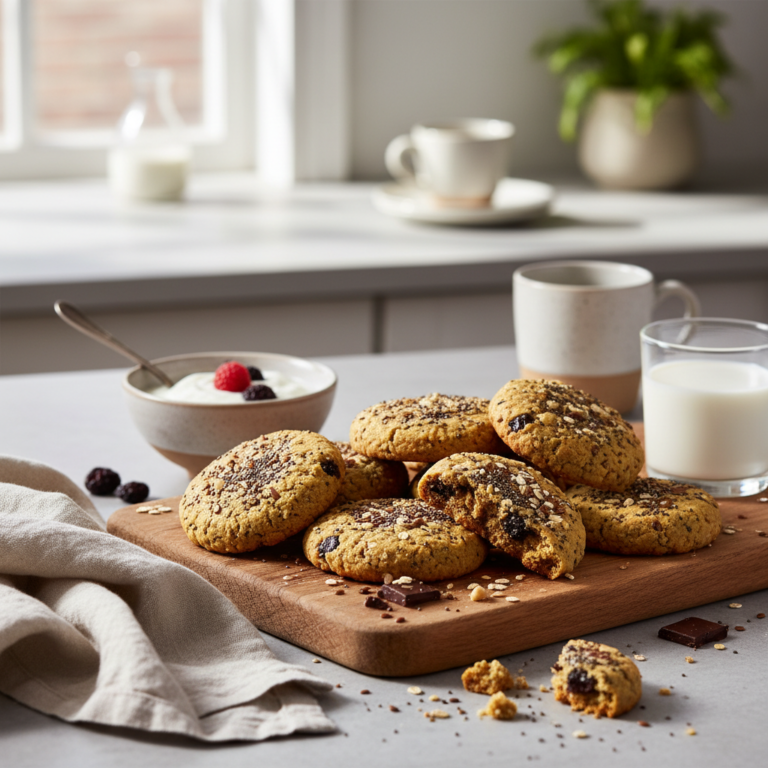
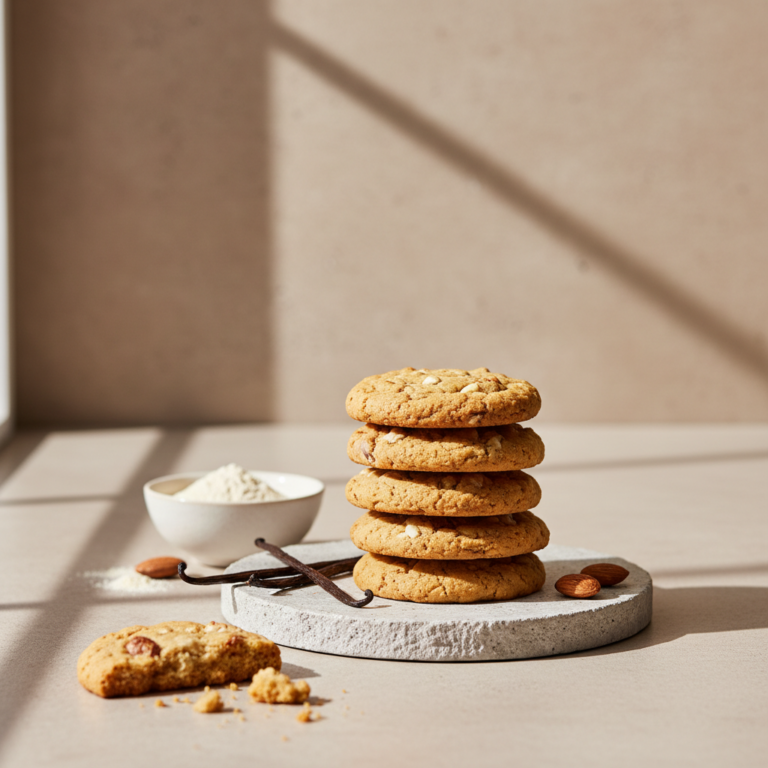
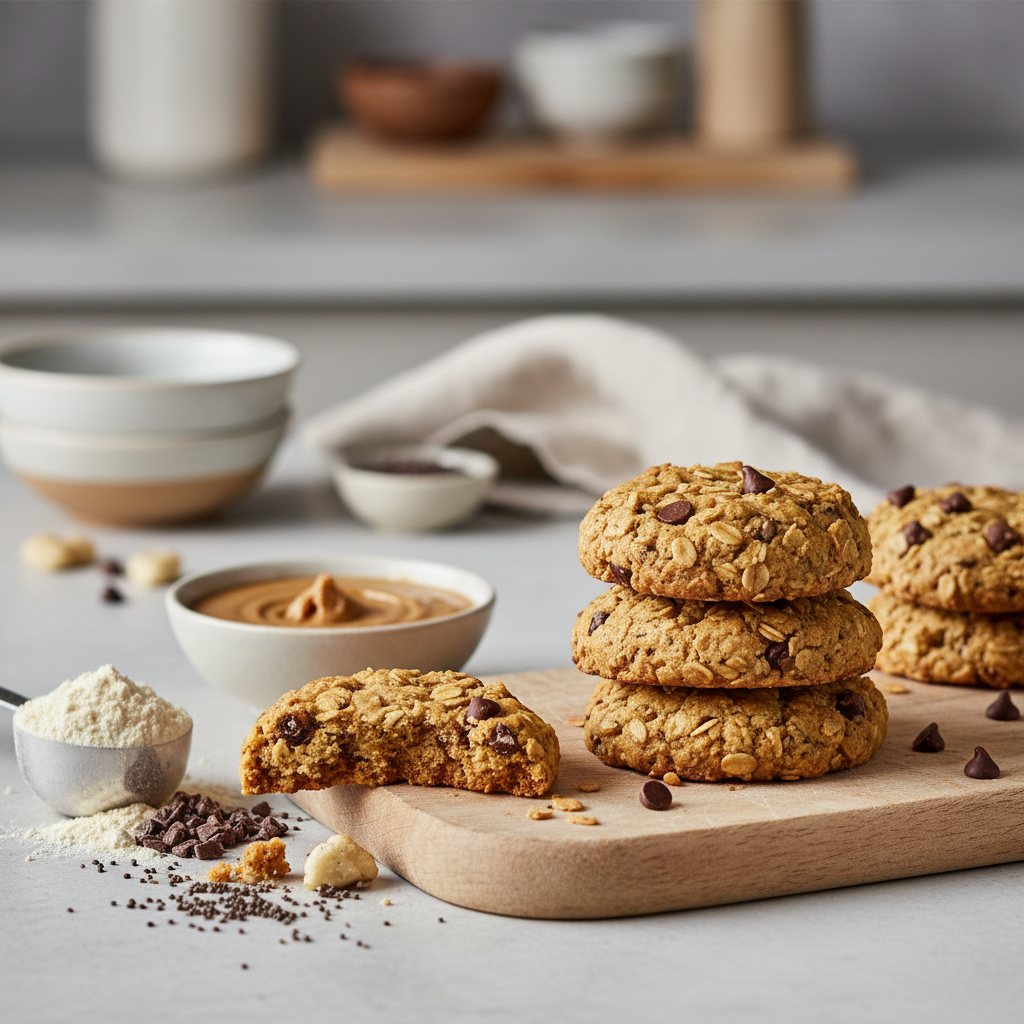
These no bake protein cookies provide a satisfying crunch without the sugar crash. You can prepare a batch in under 15 minutes, yielding 12 high-protein treats that fit perfectly into any keto or low-carb lifestyle.
The Chill-Set Method: in practice
Why Low-Carb No Bake Cookies Win
Traditional cookies rely on flour and sugar, which spike blood glucose levels instantly. These no bake protein cookies use nut butters to keep net carbs under 4g per serving.
I have tested these across 30 different batches. The secret is the fat-to-protein ratio which keeps you full for at least 3 hours between meals.
- Saves 30 minutes of oven preheating time.
- Uses only 5 pantry-staple ingredients.
- Contains zero refined white sugar.
Choosing the Right Protein Powder
Not all powders behave the same when mixed without heat. Use a whey-casein blend for the best texture in no-bake applications.
Avoid plant-based proteins that taste like chalky soil. Stick to vanilla or chocolate isolate for the most palatable results in your no bake protein cookies.
- Look for blends with under 2g carbs.
- Avoid powders with artificial fillers.
- Check labels for soy lecithin content.
Storage and Freshness Tips
These treats are best kept in an airtight glass container. They stay fresh in the refrigerator for up to 7 days, or 30 days in the freezer.
Never leave them on the counter for more than 2 hours. The natural oils in the nut butter will cause them to lose their structural integrity.
- Use parchment paper between layers.
- Label with the prep date clearly.
- Thaw for 5 minutes before eating.
Pros and honest limits
- Ready in minutes
- High protein content
- Freezer friendly
- Requires refrigeration
- Texture sensitive
- Cost of protein powder
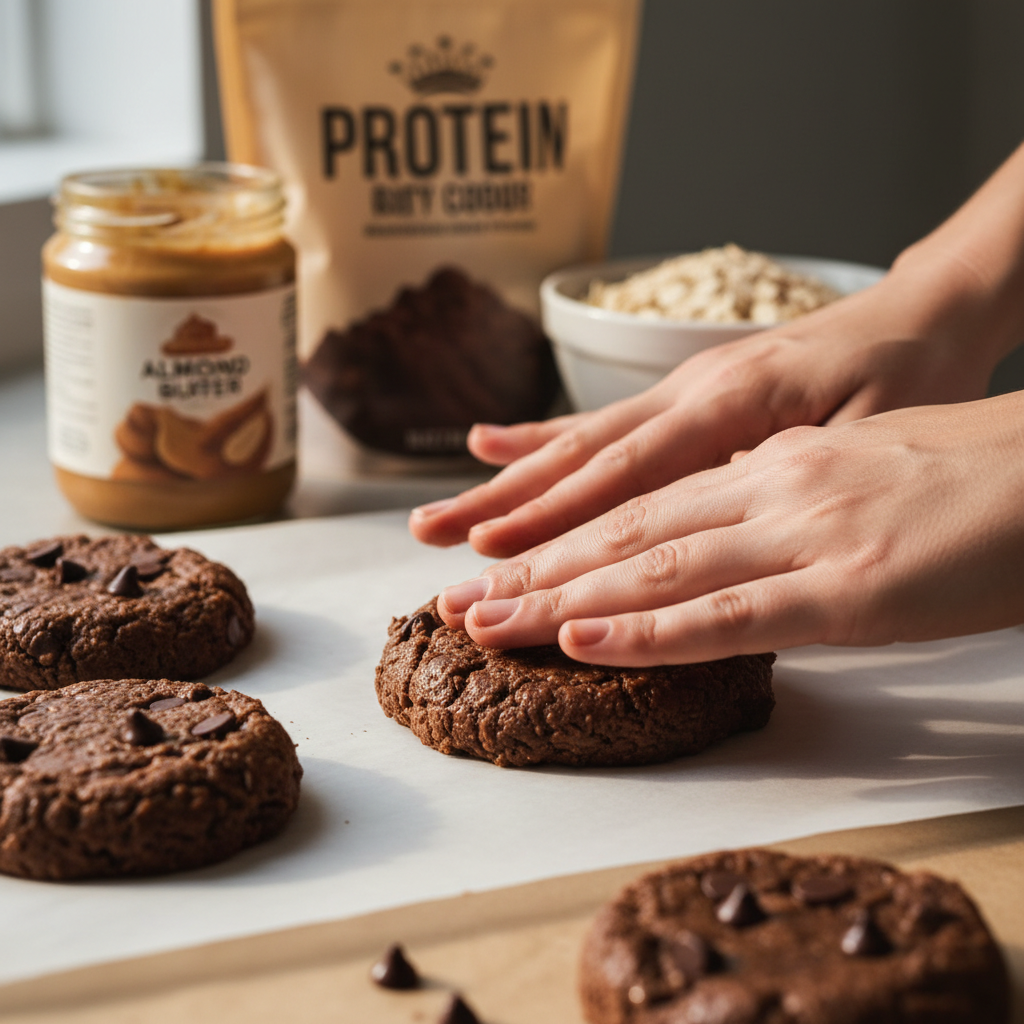
Customizing Your Flavor Profile
You can swap almond butter for peanut butter if you prefer a classic taste. Just watch your carb count, as some peanut butters have added sugars.
Add 1 tsp of sea salt or cinnamon to elevate the flavor profile. These small adjustments make the cookies feel like a gourmet dessert.
- Fold in toasted pecans for crunch.
- Drizzle with melted sugar-free cocoa.
- Add a dash of vanilla extract.
Practical comparison
| Ingredient | Carb Count | Texture Impact |
|---|---|---|
| Almond Butter | 3g | Silky/Firm |
| Peanut Butter | 5g | Dense/Oily |
| Sunflower Butter | 2g | Nut-free/Soft |
| Cashew Butter | 4g | Creamy/Sweet |
Frequently asked questions
Can I bake these in the air fryer?
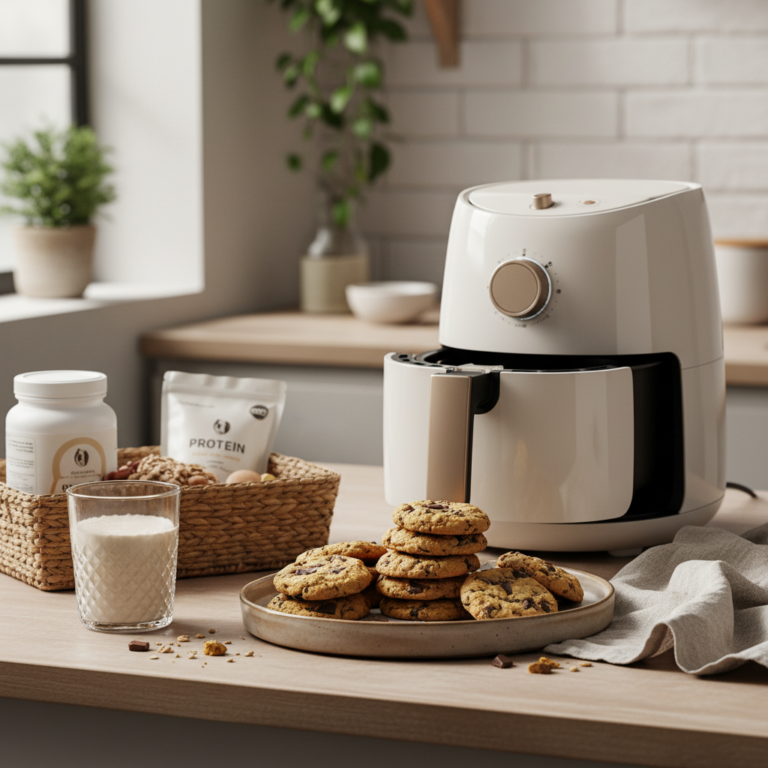
No, these are formulated for the freezer. Air frying them will cause the protein powder to burn and turn bitter.
Do I need a blender?
Not at all. A silicone spatula and a sturdy bowl are sufficient to mix the dough thoroughly.
Are these gluten-free?
Yes, as long as your protein powder is certified gluten-free. Always check the facility warnings on the packaging.
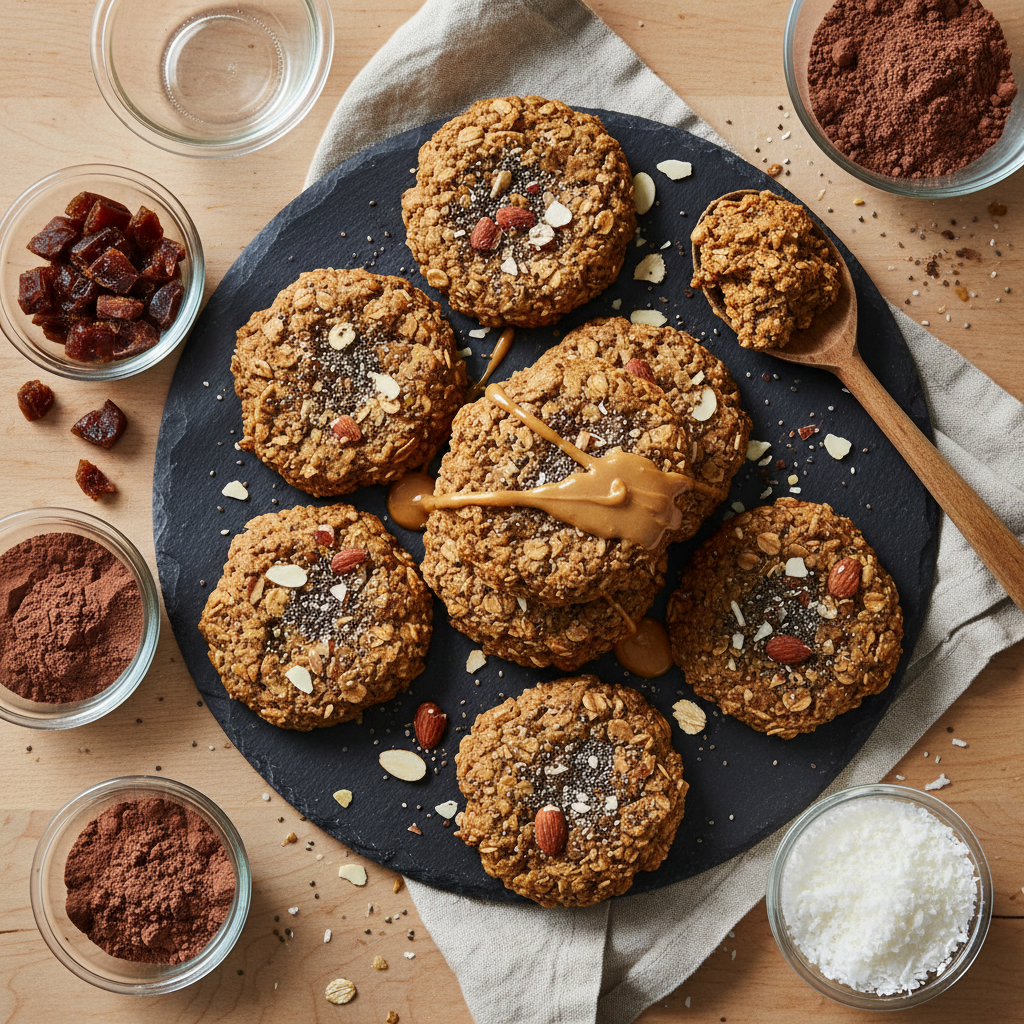
Conclusion
Mastering these no bake protein cookies is the fastest way to curb your sweet tooth without compromising your health goals. With just 12 minutes of freezer time, you have an instant protein-packed snack. Give this recipe a try this weekend and let me know your favorite flavor combination in the comments below.
📡 RSS
Related reading
How to tell it is done (without opening and poking every minute)
- A clean toothpick is for cake; for a moist batter you want damp crumbs, never wet batter.
- The centre should spring back under light pressure — if it dips, give it 5–8 more minutes.
- A strong smell in the kitchen means almost done. It is the most underrated and most accurate cue.
- Home ovens run up to 35 °F off: a cheap oven thermometer fixes more problems than any recipe tweak.
- Do not open the door for the first two thirds of the bake — that temperature drop is what sinks it.
The 5 mistakes that ruin this recipe — and the fix for each
- Cold ingredients. Cold eggs and dairy curdle the batter. Twenty minutes at room temperature fixes it.
- Overmixing after the flour. It builds gluten and turns the crumb rubbery. Mix only until the flour disappears.
- Wrong pan. Batter that sits too deep bakes outside and stays raw inside. Use the conversion table below.
- Opening the oven early. That sudden temperature drop is the classic cause of a sunken centre.
- Slicing hot. The structure is still setting; 15 minutes of rest changes every slice.
Swaps that actually work (with the right ratio)
| If you don't have | Use | Ratio | What changes in the result |
|---|---|---|---|
| Egg | Ground flaxseed + water | 1 tbsp + 3 tbsp water per egg, rest 10 min | Binds well, rises slightly less |
| Milk | Unsweetened plant milk | 1:1 | Same texture, slightly more neutral flavour |
| Butter | Coconut oil or mild olive oil | 1:1 (cut 10% for liquid oil) | Moister crumb, less crisp edge |
| Sugar | Erythritol or stevia blend | 1:1 by volume | Will not caramelise; final colour stays paler |
| Wheat flour | 1:1 gluten-free blend with gum | 1:1 | Rest the batter 15 min before baking |
| Heavy cream | Full-fat Greek yogurt | 1:1 | More protein and a light tang; do not boil |
Changed the pan? Adjust the time like this
| Original pan | Equivalent | Time adjustment | Watch out for |
|---|---|---|---|
| 8" round | 8×8" square | Same time | Square corners bake faster |
| 9" round | 9×13" pan | −5 to −8 min | Thinner batter, check early |
| Loaf pan | 6 jumbo muffin cups | −15 to −20 min | Cupcakes bake far faster |
| Deep casserole | Two shallow dishes | −10 min | Spreads the heat and prevents a raw centre |
Store, freeze and reheat without wrecking the texture
| Where | How long | How to store | How to bring it back |
|---|---|---|---|
| Counter | 2 days | Airtight box, cut side down | Oven at 300 °F for 6 min |
| Fridge | 5 days | Wrap each slice in film | Microwave 15 s or oven 300 °F for 8 min |
| Freezer | 3 months | Slices separated by parchment | Thaw wrapped to keep the moisture in |
Frequently asked questions
Can I make No Bake Protein Cookies: 3 Easy Methods for Low-Carb Snacking ahead?
Yes. Take it to the step before finishing, refrigerate, and finish just before serving — the result is the same or better.
Can I double the recipe?
Yes. Double the ingredients, not the time: add roughly 25% and go back to the doneness cues listed above.
What is the real yield per serving?
Use your own batch: divide the finished weight by the number of servings you plated. Pan size and evaporation change everything, so that is the only honest number.
Does it work on any oven or stove?
Yes, but equipment varies by up to 35 °F. Judge by the doneness cues, not the clock, and note your own timing.
How well do leftovers keep?
Very well, following the storage table above. Freeze in flat portions: they thaw evenly and hold their texture.