Cottage Cheese Cheesecake No Bake: 3 Steps for High-Protein Bliss
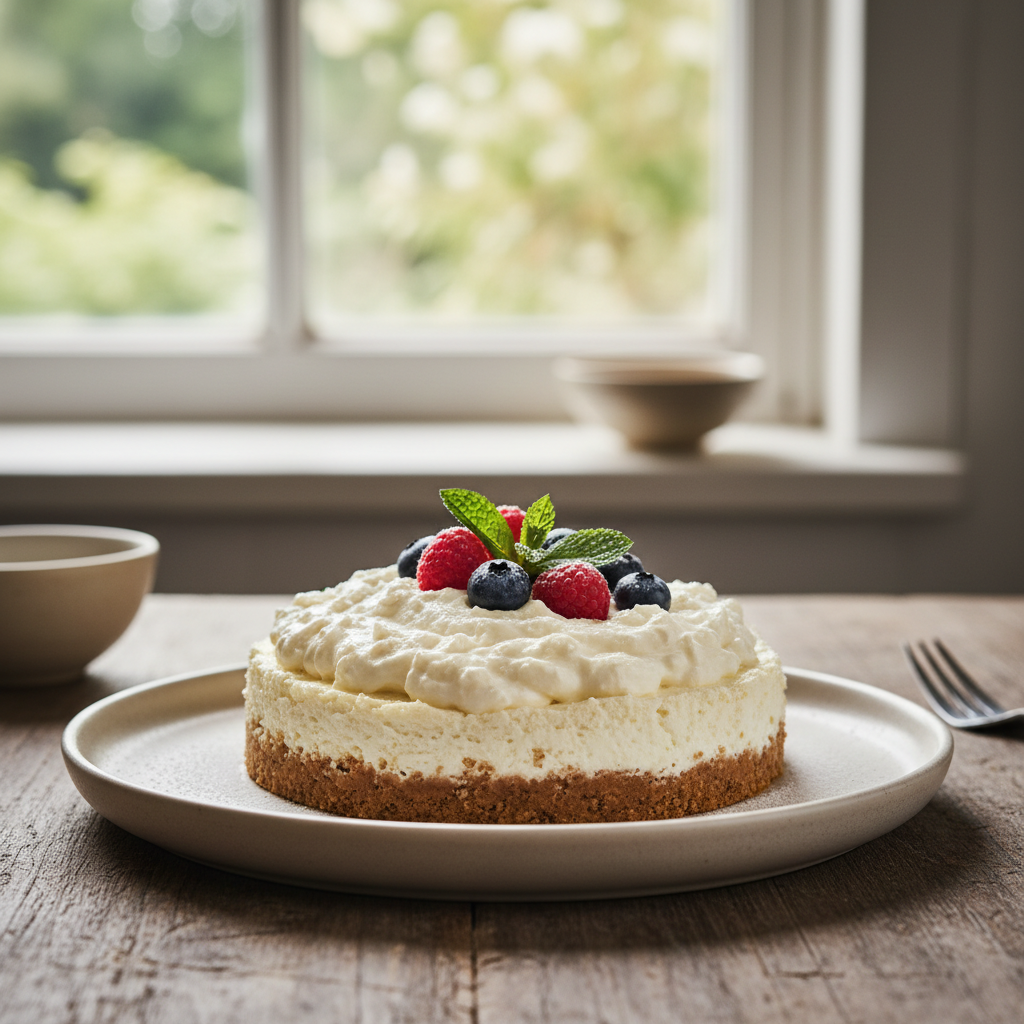
This cottage cheese cheesecake no bake method delivers a creamy, low-carb dessert in under 15 minutes of active work. You get 25 grams of protein per slice without turning on your oven. It is the perfect guilt-free treat for your post-workout cravings.
The Chill-Set Method: in practice
Why Cottage Cheese Wins
Cottage cheese is the secret weapon for low-carb bakers. It provides a massive protein boost compared to traditional cream cheese blends.
You avoid the heavy carb load of classic flour-based crusts. This recipe fits perfectly into a keto or low-carb lifestyle.
- Contains 60% less sugar than standard cakes.
- Provides 25 grams of protein per serving.
- Requires zero heat, saving you on energy costs.
Mastering the Texture
The biggest mistake people make is leaving the cottage cheese lumpy. You must blend until the mixture is silky smooth.
If you skip the blending, you get a grainy dessert. Aim for a consistency similar to heavy whipped cream.
- Use a high-speed blender for 90 seconds.
- Strain any excess liquid if the cheese is watery.
- Chill for at least 4 hours to ensure a firm slice.
The Perfect Low-Carb Crust
A traditional graham cracker crust ruins your macros. Use crushed pecans or almonds combined with melted butter instead.
Toast your nut base at 350°F for 5 minutes for extra flavor. This adds a nutty depth that complements the tangy cheese.
- Use 1 cup of crushed pecans.
- Add 2 tbsp of melted grass-fed butter.
- Press firmly into a 6-inch springform pan.
Pros and honest limits
- Extremely high protein count
- No oven required
- Budget-friendly ingredients
- Requires 4 hours to set
- Texture is lighter than traditional cake
- Must be kept refrigerated
Flavor Variations
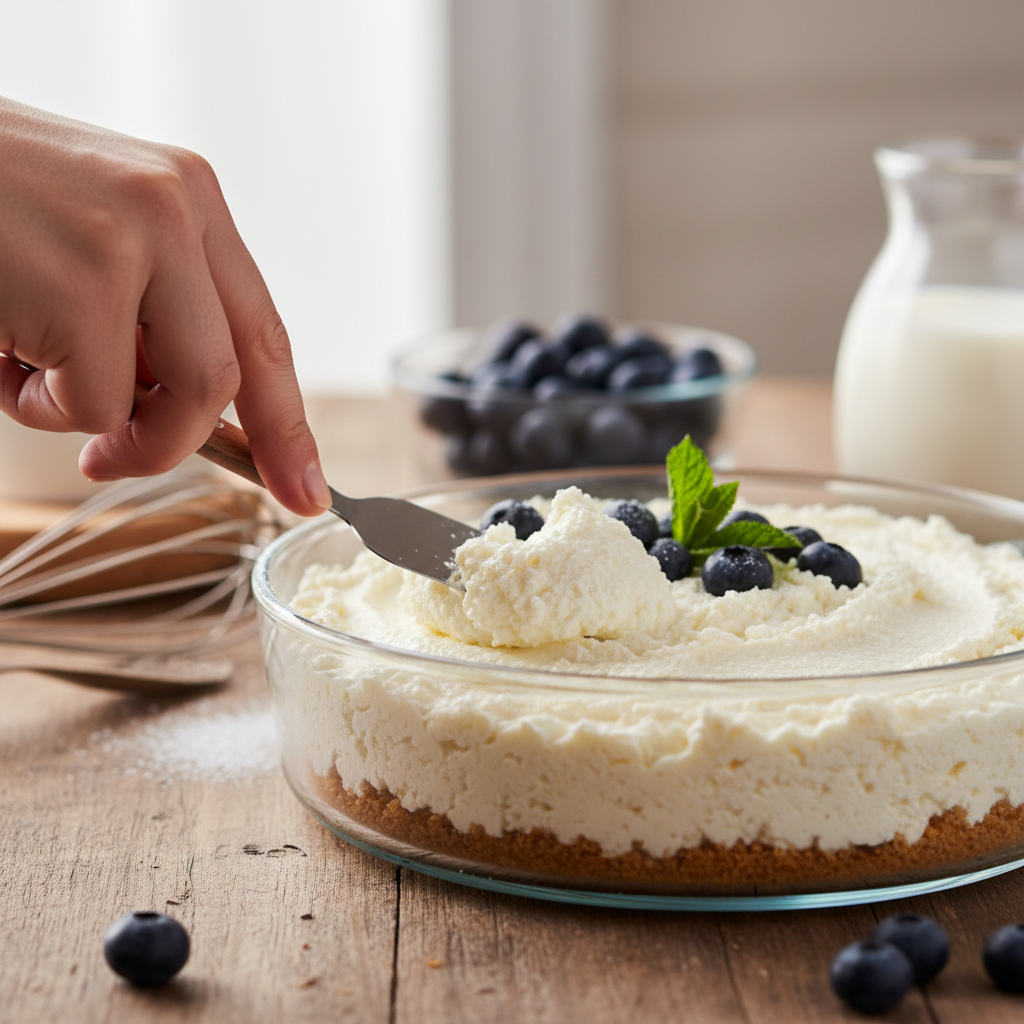
You can customize this base to fit any craving. Add lemon zest for a bright, citrus finish or cocoa powder for chocolate lovers.
Keep it simple with fresh berries on top. Raspberries add only 3 grams of net carbs per half-cup.
- Add 1 tsp of lemon extract for zest.
- Fold in sugar-free chocolate chips.
- Top with fresh blackberries before serving.
Practical comparison
| Type | Prep Time | Protein |
|---|---|---|
| Standard Cake | 60 min | 5g |
| Greek Yogurt | 20 min | 15g |
| Cottage Cheese | 10 min | 25g |
| Store Bought | 0 min | 2g |
Frequently asked questions
How long does it last in the fridge?
It stays fresh for up to 5 days in a sealed container. The texture actually improves after the first night.
Can I freeze this?
Yes, but it changes the texture slightly. Thaw in the fridge for 2 hours before eating for the best results.
Is it gluten-free?
Yes, as long as your nut crust ingredients are certified gluten-free. It is a naturally gluten-free dish.
Conclusion
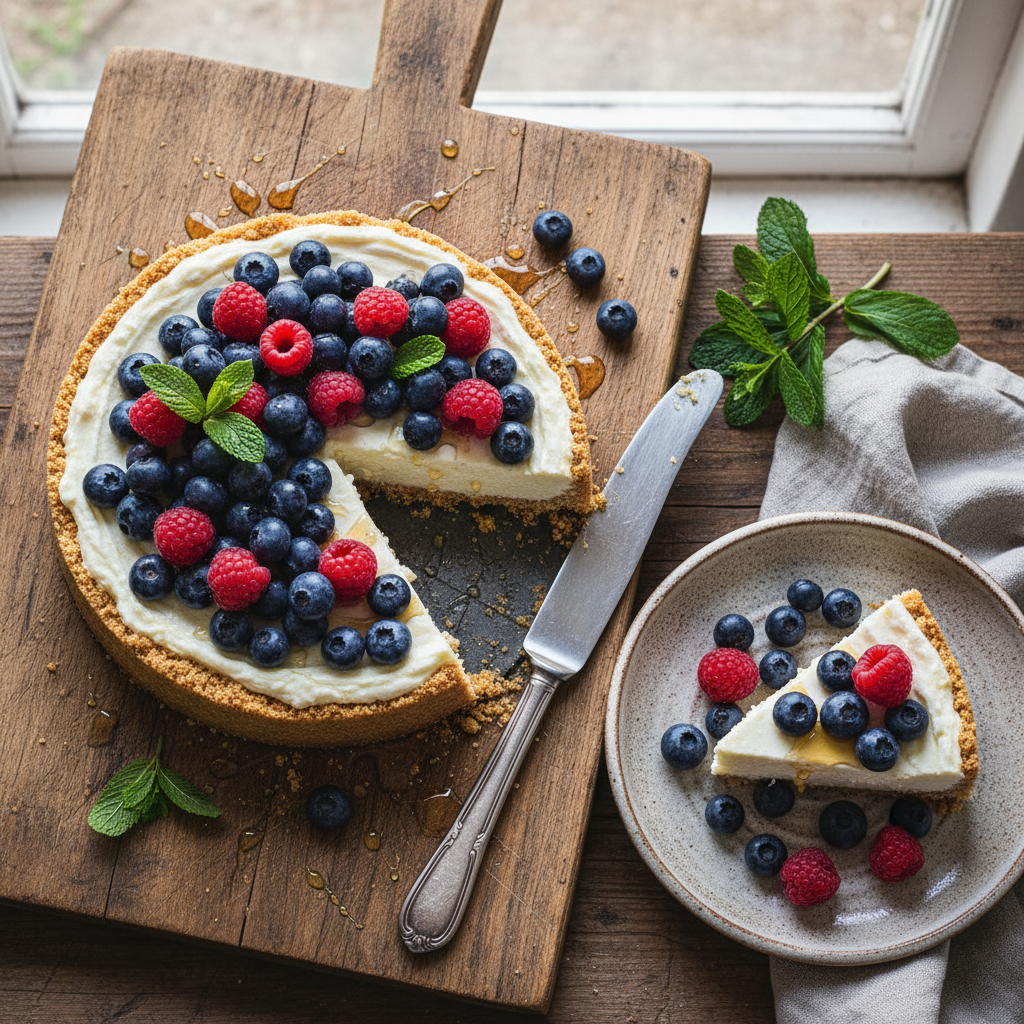
This cottage cheese cheesecake no bake is the ultimate solution for a quick, high-protein dessert. It saves time, uses pantry staples, and keeps your macros on track. Try making this tonight and let me know your favorite topping combination in the comments below.